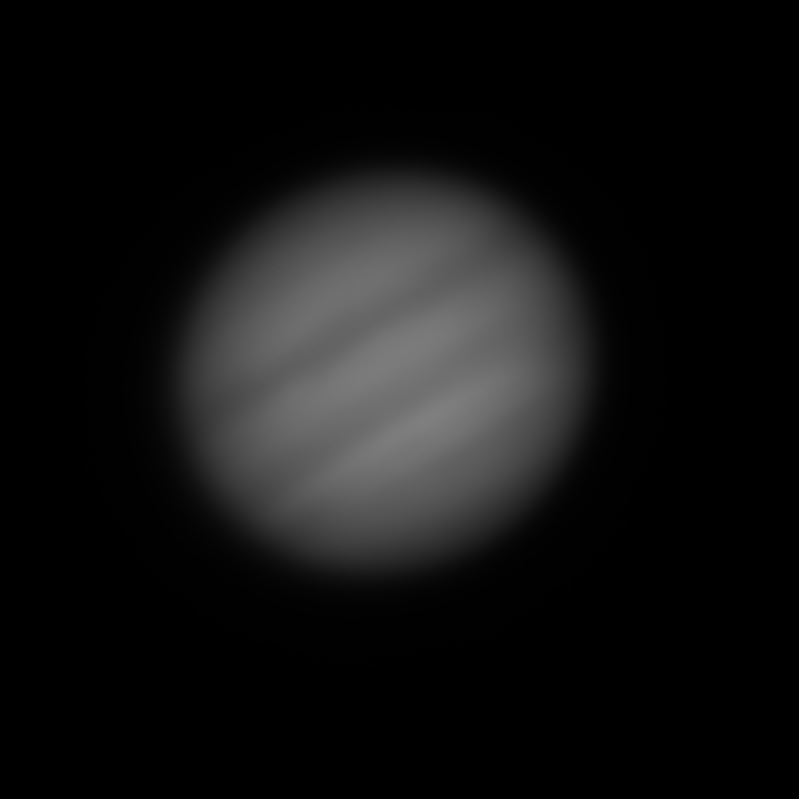
I have put a picture of Jupiter up before in a previous entry, but this time I wanted to go over the software I use to get a final picture. It was an excuse to finally take my scope out again. I have to admit that when I took these over this past weekend the seeing was not great. Clouds were moving in and out, and the atmosphere was not supporting crisp pictures. However, I did recover a picture even thought it is not of great quality.
This guide is just one one way to get a picture of a plant. There are many methods and programs that can give the same end result.
Equipment:
Scope: Celestron Edge 8 HD
Camera: I used a webcam called an ASI120MM to take the movie that would ultimately make the final picture.
Magnification: I used a Televue 2.5X Powermate to add just a little bit of magnification to the prime focus.
Mount: My scope is attached to a Celestron AVX Mount.
Here is the setup:
Step 1: Capture a movie of the planet with Firecapture
For planetary imaging we can can take a small movie and then stack the best frames from the movie to create the image.
The software I like the best if FireCapture to create the movie. You can download the software for free.
http://www.firecapture.de/
Just hook your camera up to your computer and chose the camera you will use. My ASI120 is made by ZWO so I choose the ZWO button. You will probably need to install your camera drivers before using firecapture
Once you choose your camera and have your scope pointed to a focused Jupiter you just need to tell FireCapture to start recording. FireCapture has a button with all the planers to the left. Just pick the planet you are imaging. Once that is done hit the play button to record. I usually record about a 30 second video, but you can do more or less.
After you have a few videos that you like your scope time is done. Now it is time to process the movies in a picture.
Step 2: Stack frames from the movie with Autoskakkert!
There are lots of programs that you can use to stack frames, but I like to start with Autostakkert!
https://www.autostakkert.com/wp/download/
First hit OPEN and add your movie. You will see he first frame of the movie appear in the second box.
Next hit the Analyze button. This will show you a graph of how many quality frames vs not so quality frames the software thinks are in your movie. From this graph you can enter in the green/red boxes how many frames or the the percentage of frames you want to stack. Based on my graph I am only going to use about 50% of the frames. 50% was already the default when I opened the software.
Once your have the number of frames you will use you need to place the AP grid. These are points that that the program will use to make sure frames align. I usually chose 24 as the AP size and then hit the "place AP grid" button.
Finally hit the STACK button and your image is created in the output folder.
That is my final picture but we can use another free program to sharpen it a little.
Step 3: Sharpen Image with Registax
The next program we will use is Registax6.
https://www.astronomie.be/registax/
Just open your image in Registax which will look like this:
In Registax there is a "wavelet" tab. You can move those sliders and then hit the "do all" button to sharpen your image. I find this a little bit of trial and error so keep playing around.
I finally finished adjusting and saved the final picture.
Just to show that Registax does make a difference, here is the side by side comparison. The left image is after the stack in Autostakkert! and the second image took the stacked image and applied some post-processing in Registax6. Those bands came to life a little more.