It's now been a little over two years since I moved from North Carolina to Indiana. I was reflecting on our moves throughout the years and realized I had essentially had some sort of fish aquarium at every house I had ever lived in. Before we moved to Indiana, I broke down and sold my saltwater tank and I have really missed the hobby. So here is what I am working on and where I stand to getting a saltwater reef tank set up again!
Choosing The Aquarium
I went back and forth on the size and aquarium I wanted to try based on previous learnings. It is kinda like owning a house, in that over time you realize what you like and what you would like to change next time. My last tank was a 125 gallon tank and it took up a lot of space. I wanted to have a bit of a smaller footprint. My last tank also was rimmed and had a unfinished stand and I must admit that a rimless tank is so much more aesthetically pleasing. My wife also put her foot down that the stand should look nice and not just a bunch of unfinished 2x4s. The biggest learning was that I wanted more of a plug and play system. On my last system, I drilled holes in the aquarium for the overflow, I built all the plumbing with PVC piping, I added a sump and pieced the system together one project at a time. I was a fun learning experience. but this time I am ready to just set a system up with all the pieces right at my fingertips.
I looked at so many aquariums to find a set up I thought I would like. The aquariums that I really liked were from Red Sea, Planet Aquarium and Waterbox. I read reviews and looked at many pictures from other owners. In the end I chose to go with Waterbox. Their aquariums are beautifully constructed and come with a stand, a sump and all the plumbing. Basically you can set up the aquarium, stand and have it plumbed all in one package.
The specific Waterbox aquarium I ended up ordering was the Waterbox 100.3 as it had the footprint i was really looking for.
I placed the order and waited for it to arrive which took about 6 weeks. The delivery process went very smoothly. I got a call from the freight driver saying he was on his way and he put the pallet right in my garage.
Once I unwrapped everything the crate for the actual aquarium is secured with screws and very well packaged.
The next step is assembling the aquarium stand and getting the aquarium set on the stand. The stand was well constructed and was easy enough to put together. There are plenty of videos that are on Ythat are even easier to follow than the printed instructions. A neighbor was nice enough to come over and help me move the aquarium from the garage onto the stand.
Adding the sump and plumbing was also very straightforward. Waterbox has a bunch of youtube videos that made the plumbing setup even easier to follow.

The Equipment
I was also working on acquiring all the other equipment I would need as well as pulling old equipment from my last tanks out of storage.
Return Pump
The return pump is the heart of your aquarium. Water overflows from your aquarium into your sump and then is pumped back up to the aquarium by the pump. I really wanted a silent sump and the ability to easily change the flow and chose the Ecotech Vectra S2.
Lights
I chose the Ecotech Radion XR15 Blue. Radion's come with a XR15 "Blue" model and a "Pro" model. The blues give a bit more of a blue hue while the Pros give a bit more of a white hue out of the box. I prefer the blue light for viewing a reef tank over the white, but it is mostly personal preference. People have success growing coral with either type. The RMS mounts also make hanging the lights a breeze.
Skimmer
I also wanted a very quiet skimmer and staying within Ecotech family I chose the Nyos 120.
Flow - Powerheads
Again keeping with on the Ecotech theme, I received 2 MP40 quietdrives to add to the system
Here is the waterbox sump, lights, skimmer and powerheads. My original shipment was missing one MP40, but the supplier quickly shipped me the second one.
Sand
I went with Special Grade "live" sand from Caribsea. When I did the calculation 80 lbs of sand (4 bags) was the recommendation, but once I added the sand to the tank I just used 60 lbs (3 bags).
Rock
I wanted to go with dry rock as opposed to already cured rock. I had some dry rock from my last tanks, but that rock had been through some high phosphate blooms and a really bad dinoflagellate outbreak over the years. So I figured it was good time to just start over. I went with the Caribsea LifeRock. I got ~80 lbs of rock that was a combination of the original,(40 lbs) shapes (20 lbs) and arches (20 lbs). I played around a bit with how I wanted the rock to look before putting it into the tank.
Controller
I had an Apex system set up on my last tank. It basically comes with a power strip and a controller that supports probes such as conductivity, temperature and pH.
Once everything is plugged in and the probes are are online the Apex controller connects with an app where you can monitor the water parameters as well as turn on/off any equipment that is plugged in.
Here is the apex app after I have everything plugged in.
Controller Board
The Apex power strip, the Apex controller unit, the S2 vectra pump and teh 2 MP40s all have units that need to go somewhere. I used an adaptive reef controller board to help organize all the cords and controllers.
Other Apps
The Ecotech family of products also has its own app called Mobius where you can control the equipment. I prefer going into APEX to control everything, but for initial setups the Mobius can get your your lights, pumps and powerheads scheduled with a template. I still use the APEX app to turn things on/off if needed (feeding, etc.)
I have set the MP40s to 60% flow on Reefcrest mode and the Vectra return pump to 75% constant. Changing the settings are very easy in the app. I did have to do a lot of updates to firmware for the equipment through the app and to try it multiple times in some cases, but once I got through the updates the app has seemed pretty stable.
The lights also have a way to set automated times, spectrums and ramping schedules. I am using the AB+ template for now.
Water
The water is the most critical piece of of any aquarium system. Most saltwater systems use RO water. You can usually purchase this from a fish store or make your own. In order to make your own, there are RO systems that will do the job and I am using a 5 stage RO system from Bulk Reef Supply. It has a TDS meter built in so that i can target 0 TDS output water.
Salt
Everyone has opinion on the best salt. I went to Tropic Marin Pro salt and have been targeting a 1.025 salinity. It mixes amazing! and does not have any residue at all. One note is that it does have a low alkalify. So far I am reading a 6.8 and would rather be around 8. So I will probably add some soda ash in the future to any water I make.
The Final Build
After getting all the supplies, adding the rock and sand and making the water, I filled the tank. I used a pump to pump in water from a big Brute 40 gallon trash can to the aquarium.
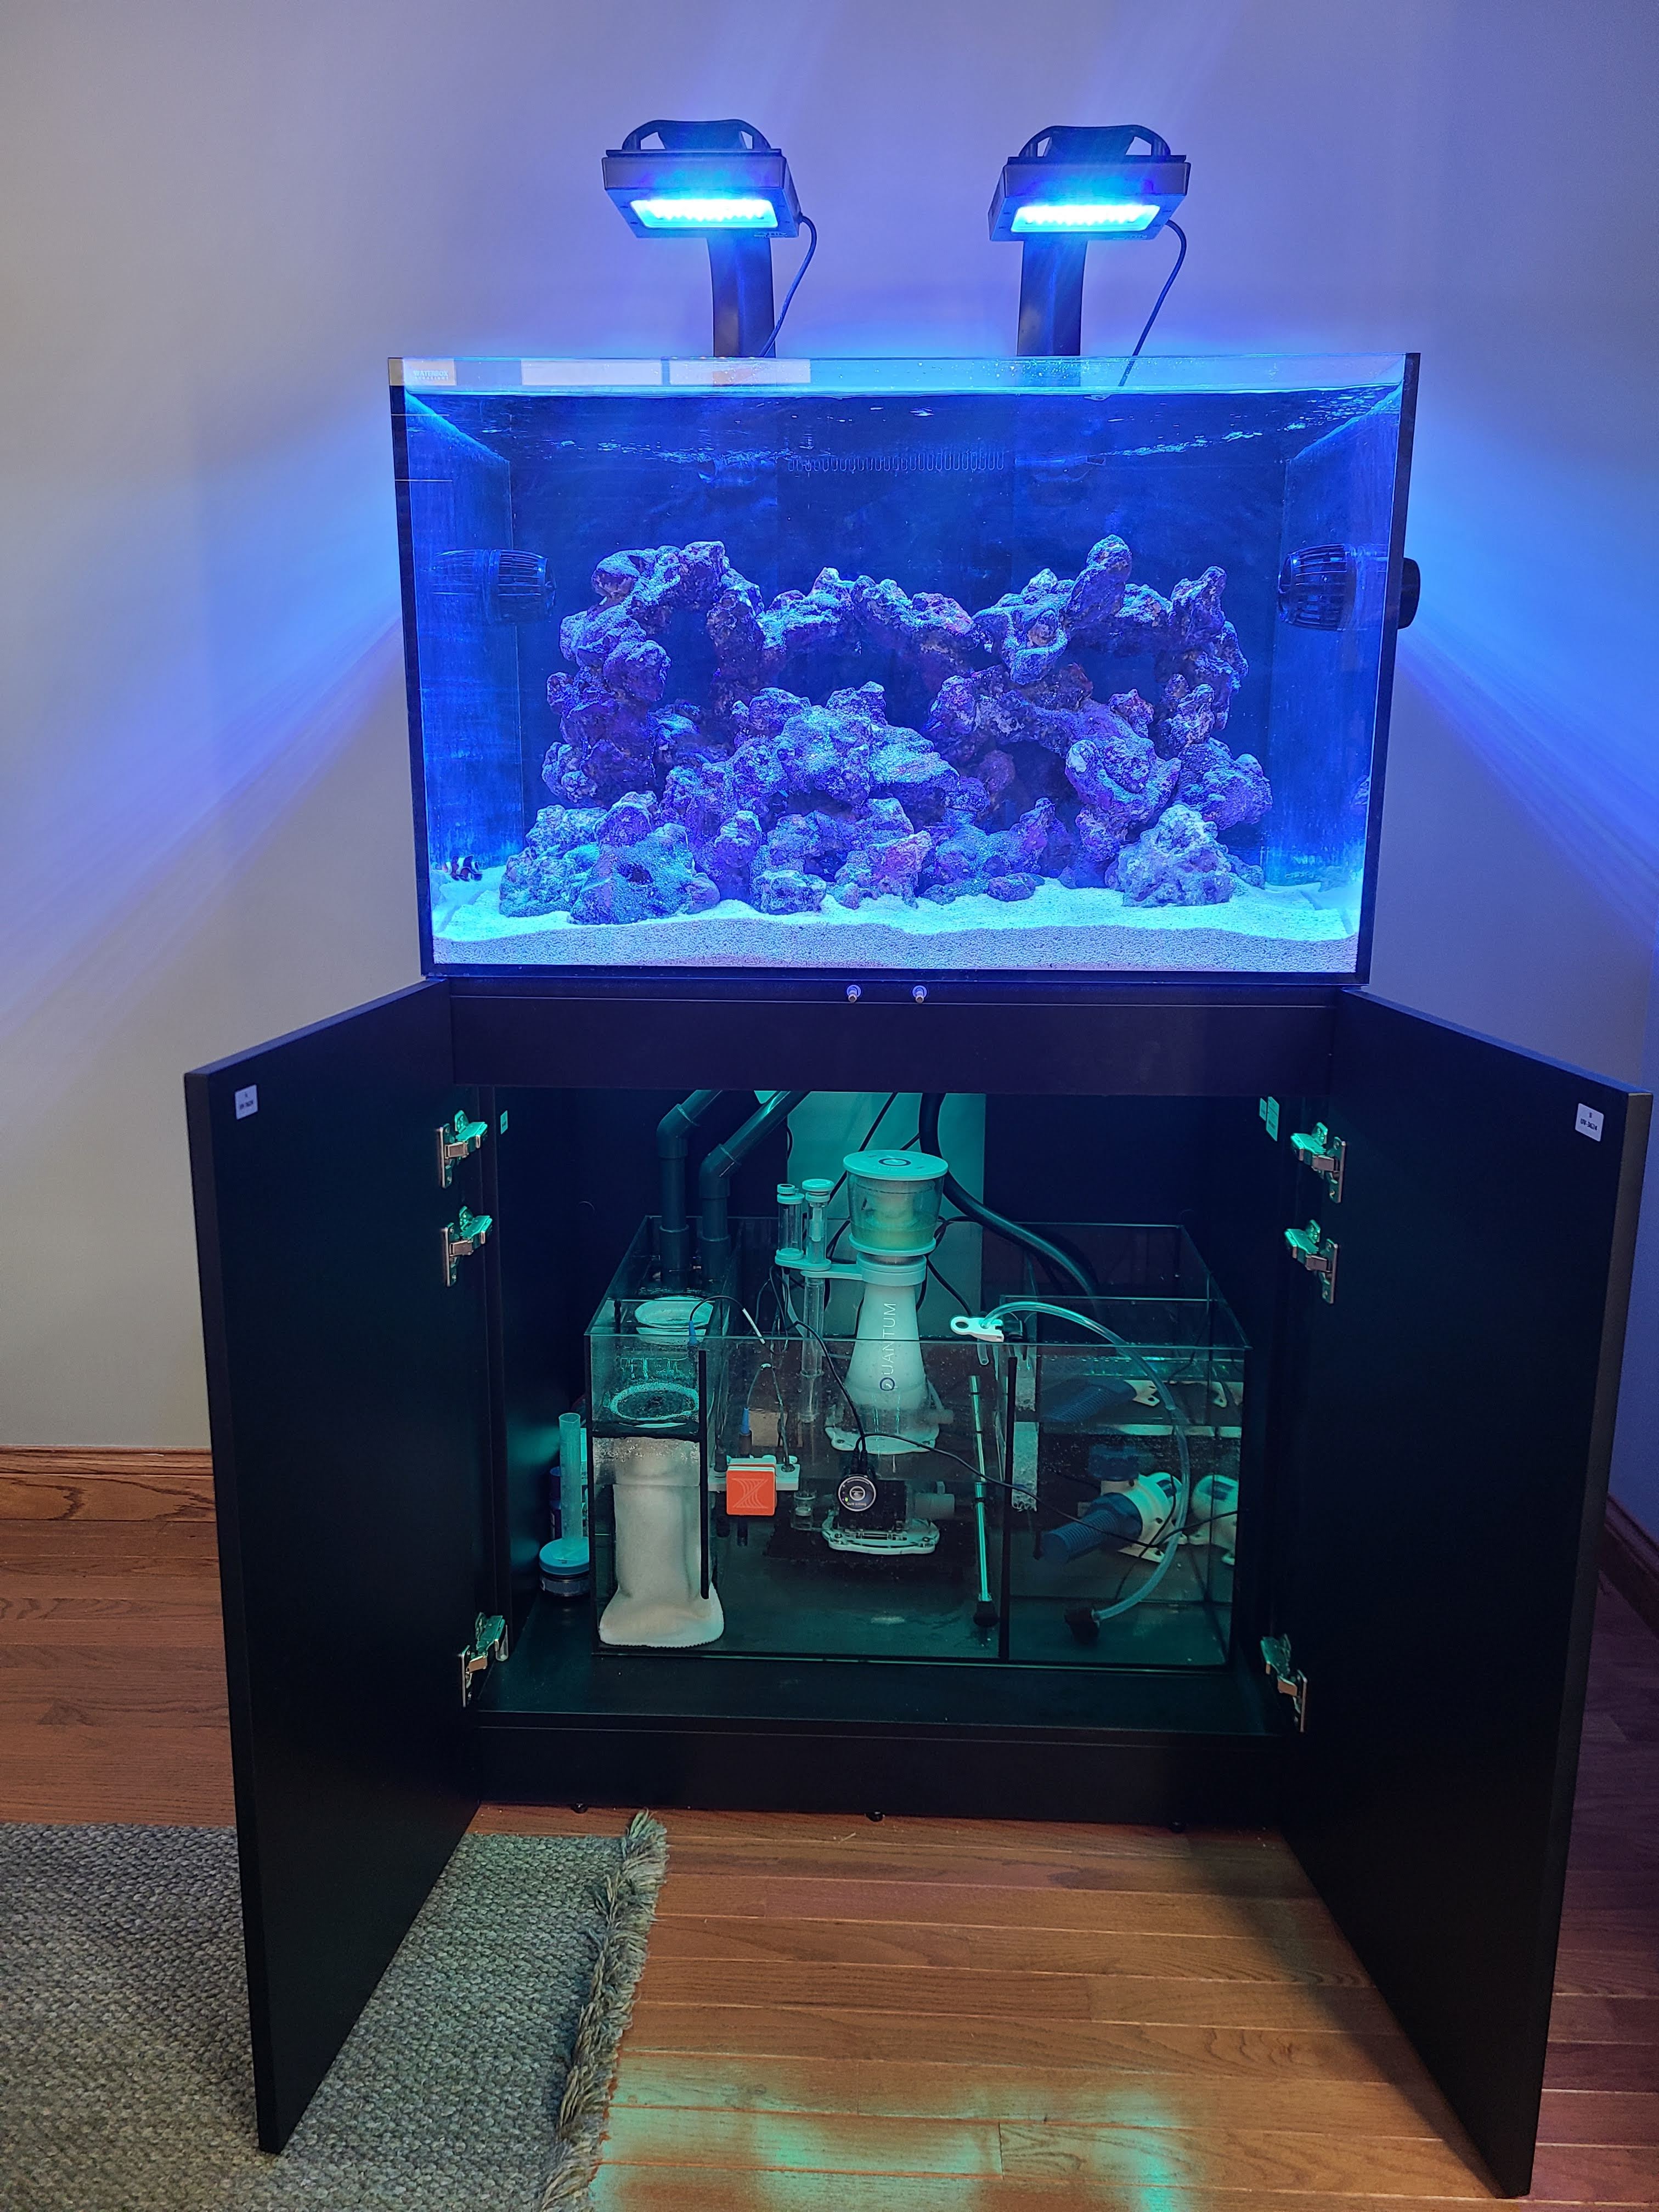
Here was everything up and running with the water added. I also added some LED strip lights underneath the cabinet to make for some fun lighting.
Cycling
Once everything is up and running, the patience has to kick in to cycle the tank. this is where the tank needs to build up bacteria that can convert Ammonia to Nitrite to Nitrate. In order to do this I added Dr Tim's Ammonia. I started with 12 mL of ammonia and ran an ammonia test. Sure enough I had a lot of ammonia in the system. I also added a bottle of Bio-spira which is nitrifying bacteria. This just helps colonize the tank.

I ran an ammonia test every day and sure enough after about 7 days I had 0 ammonia. At this point I added about 6 more mL of ammonia and after only 1 day it was back to 0. This let me know that I had bacteria that was successfully converting ammonia which is important because ammonia is toxic to fish. I also ran nitrate tests and it was pretty high so I did about an 60% water change and brought it under 8 ppm. In about 3 weeks I had a cycled tank with addition of ammonia, live sand, and bio-spira. I felt my tank was ready to introduce its first fish so stay tuned.