It has been a tough year with COVID. Schools, places of business, sports and all matter of other activities have all had to adjust to the pandemic of 2020. Due to the virus vacation plans may have been adjusted for many of you and it was no different for us. My oldest son son, Landon, and I were planning to go to New Mexico for a week of backpacking at the Scout ranch Philmont. This event was canceled and it left us really wanting to still get some time in the outdoors. The alternative trip we planned was a bit closer and a bit shorter, but still an amazing experience.
If any of you want to plan a backpacking trip out to Pictured Rocks National Lakeshore here is some info that may help you plan. If backpacking is not your thing, then you can just enjoy some pictures highlighting the beauty of the Lake Superior and its shore.
All in all we were 5 adults and 5 teenagers. It was a 8 hour drive from our home in Indiana to the Lakeshore. We spent most of the arrival day driving so we planned to drive to a campsite the first night, set up camp and then spend 4 days hiking about 34 miles of the trail.
The full Lakeshore trail is 42 miles. Some of it is a lot of sand hiking so we cut our hike down to 34 miles.
The Lakeshore Trail that we would hike is actually part of a very big North Country Trail system that spans multiple states.
Arrival
We drove to Munising, MI and set up camp at the Munising Tourist Lakeside Camp. If you like camping, this is a really nice place for either tent or RV camping. It is 5 minutes from downtown Munising which is an awesome little lake town. The campsite also has water and a showers.
After setting up camp and getting a good night sleep it was time to get on the trail and do some backpacking. There is a shuttle that runs each day to the various campsites on the Lakeshore Trail. We decided we would would park our cars at the Munising Falls Visitor Center (about 15 minutes from the Munising Tourist Lakeshore Campsite), grab the shuttle and then steadily hike the trail back to our cars over the course of the next 4 days.
Here is the shuttle service that runs to the various campsites.
Day 1
We took the bus shuttle to Hurricane, where we would start our hike. Some heavy rains came down that morning. Luckily the really heavy rains fell while we on the hour and half bus ride to our starting position. As we got off the bus rain was still coming down a bit so we threw on our rain gear, covered and packs and started our journey down the Lakeshore Trail.
The trail follows the lake for the entire way. Sometimes we were in the forest beside the lake while other times the trail opened up to beautiful views of the lake.
After about a 6 mile hike we arrived at our first campground called Seven Mile Group site. This is true back country hiking. Once you get on this trail there is no easy way off and there is no cell service. Besides setting up camp we needed to get water which meant purifying your water so be sure you bring a purifier. We had 2 of them in order to have a backup. When you can get water from the lake it was by far the better tasting than when we had purify out of a creek.
Our campsite had a quick trail right to a pristine beach. As we walked out on the beach to get water we had our first encounter with the stable biting flies. And yes they bite!! I heard several yelps as flies bit into us. These flies come out when the environmental conditions are right and unfortunately it must have been perfect this afternoon. They land in droves on exposed skin and proceed to bite. Deet does absolutely nothing to deter them. The best thing is wear long pants, long sleeves and a hat. We were mostly wearing shorts so we all quickly moved to long pants. Getting in the water will also keep them at bay. These flies were no joke, but they only really bothered us on the beach and they would disappear once we retreated a short distance into the woods of our campsite.
Landon decided he wanted to completely get away from any chance of another fly attack.
Playing some games while we relax from the hike
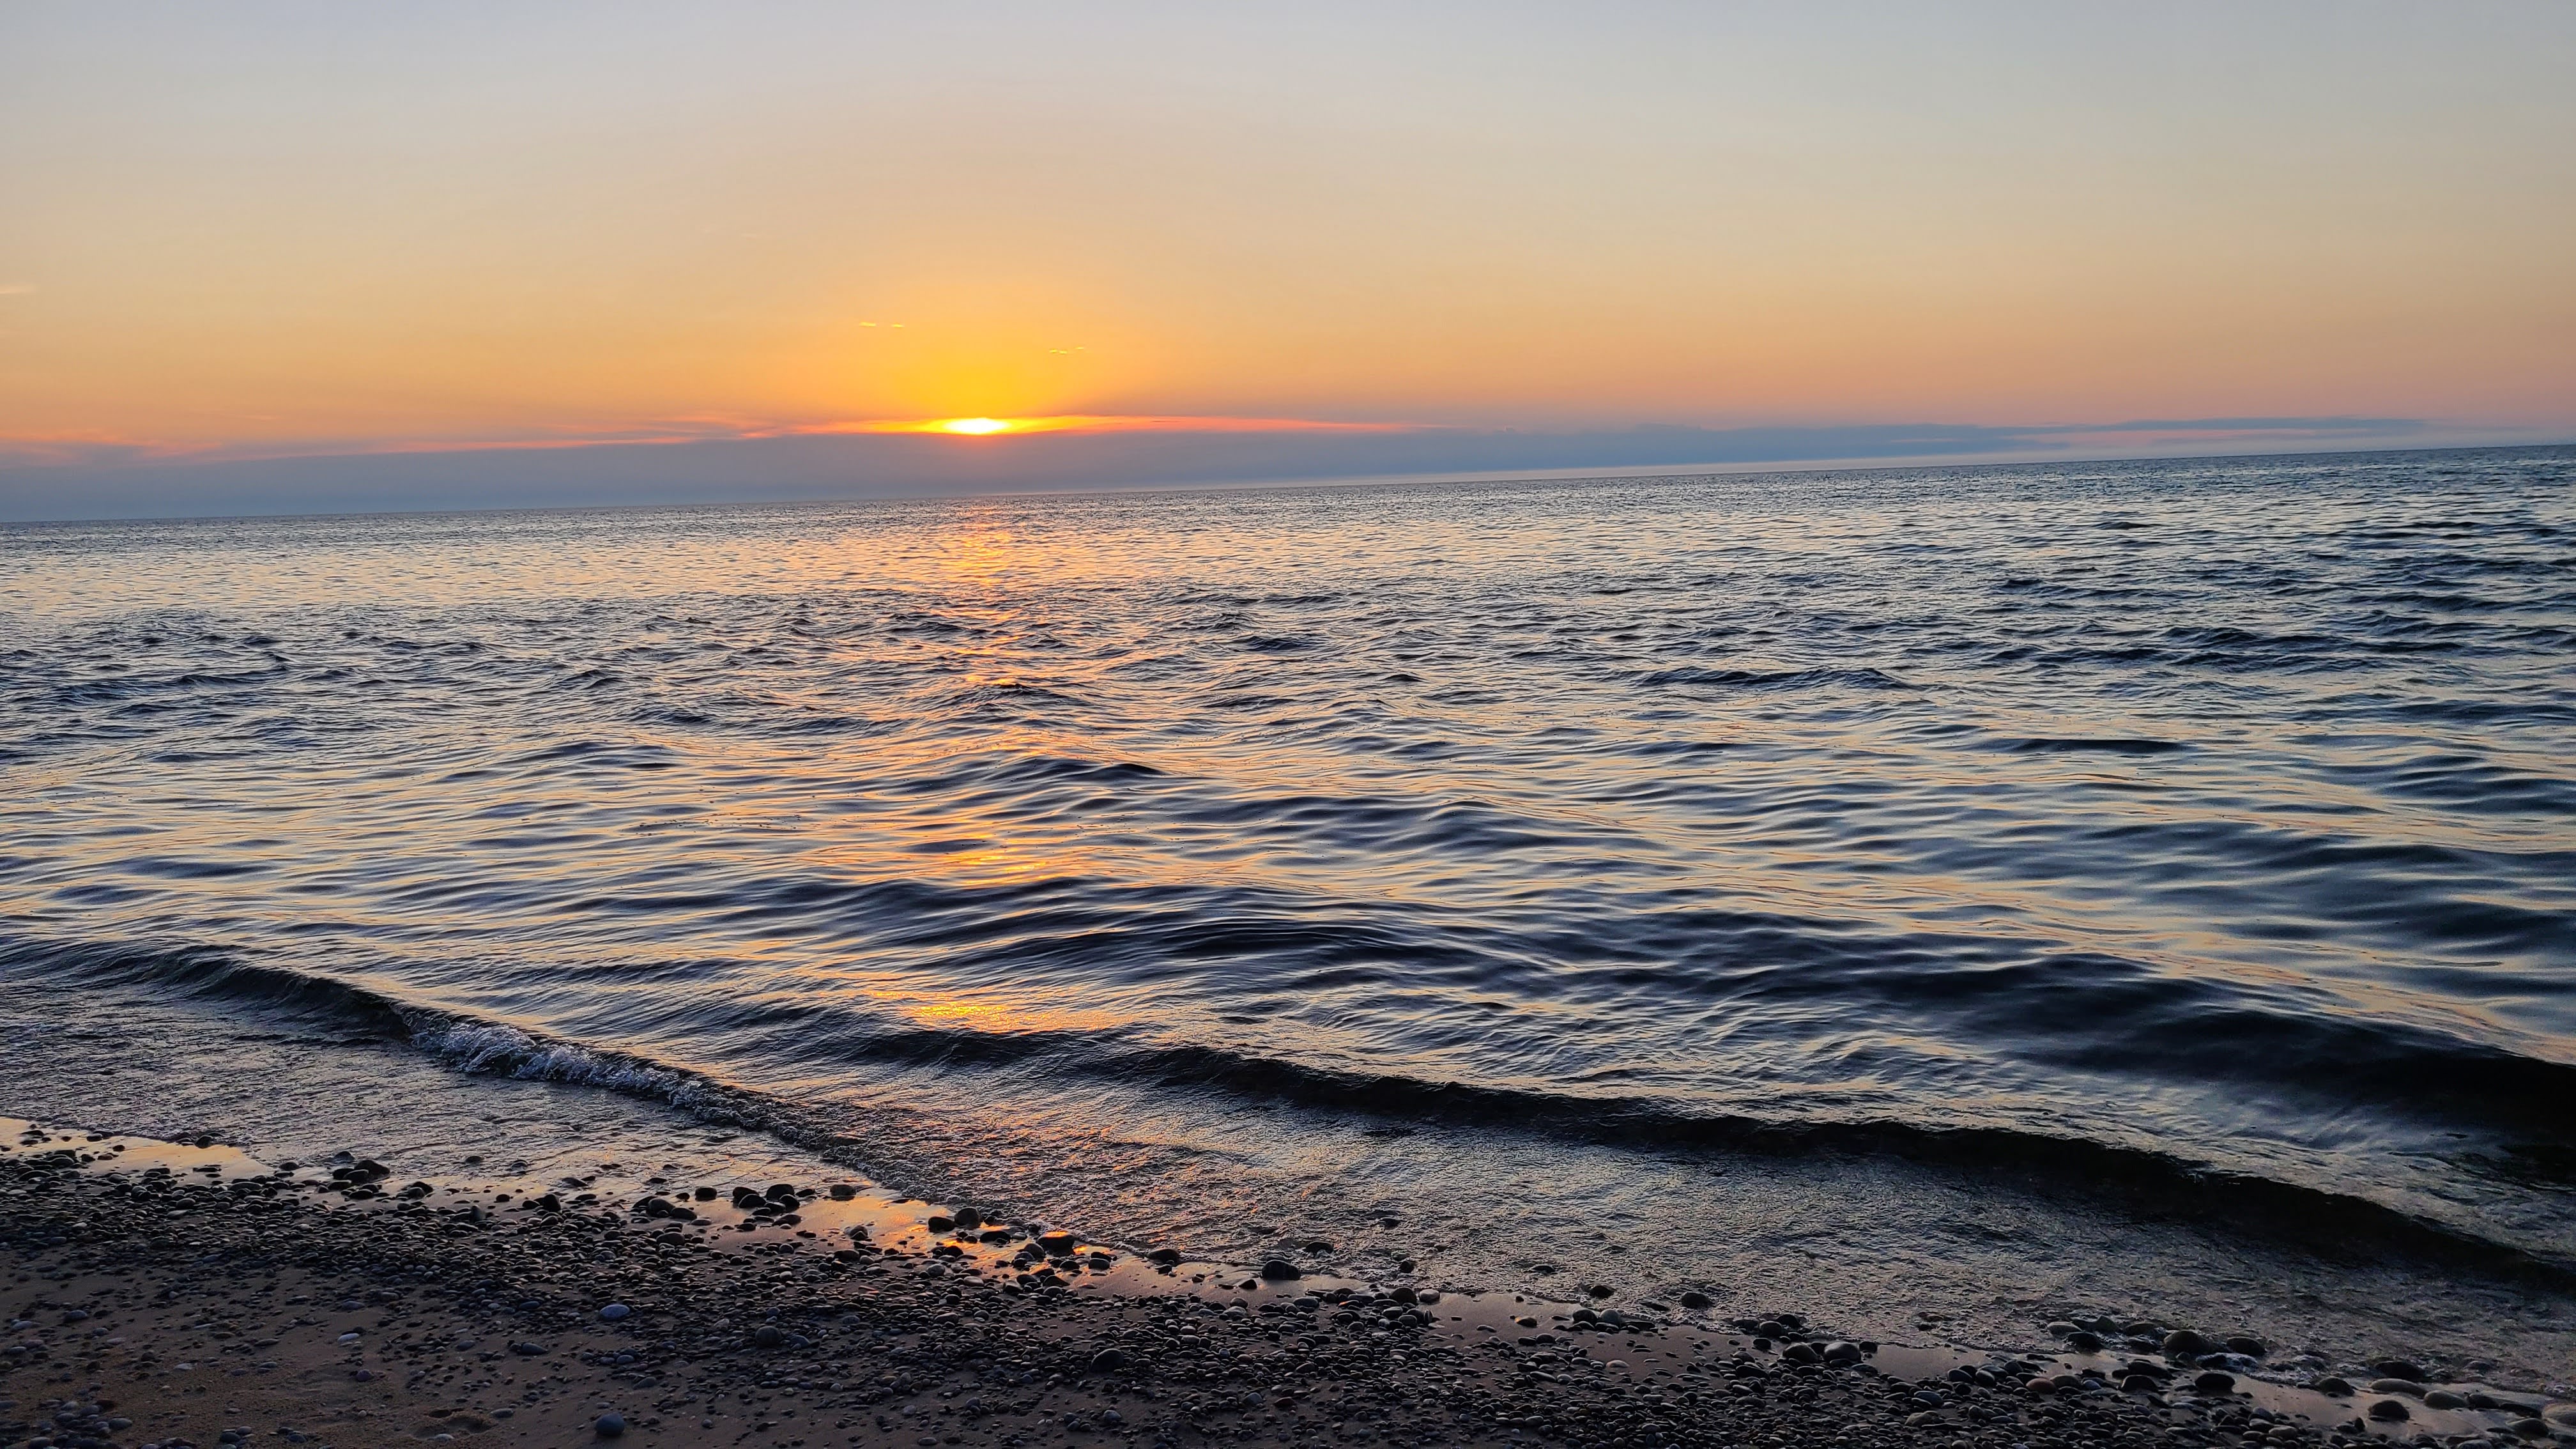
Finally the winds changed and flies went away. We all walked down to the beach to watch the sunset and enjoy the nice night. One thing about the lake is there are some of the most beautiful rocks including polished and flat ones. The boys spent a lot time skipping rocks on the lake.
The skies cleared nicely and we waited for the stars to come out while searching for Comet Neowise. Sure enough we found it right under the big dipper above the lake with the naked eye. If you looked just right you could see the comet and its tail hovering above Lake Superior.
Here was Big Dipper above the lake. The comet is at the very bottom of the picture.
Look closely and you will see Comet Neowise.

The beauty of the stars gave no warning to the storms that would roll through that night. At about 2 AM we all awoke to what sounded like like a train barreling down on us. After hearing that noise coming across the lake it quickly arrived to us which came in the form of very heavy winds. For about 4 hours the wind, the freight train sound, the thunder and monsoon rain did not let up. Some of us fared better than others that night. One dad and son had a good bit of sideways rain go through the tent vents and get everything pretty wet. Another camper was spreading his body in his tent to keep it from blowing up and away while he was in it. It was an unforgettable night. We later found out that some locations with wind tracking measured wind gusts as high at 76 mph making the storm equivalent in place to a Cat 1 Hurricane in places. It is hard to explain the experience without going through it in a tent, but we were all thankful it blew over and left us all safe.
Day 2
After surviving the storm and a lack of sleep it was time to pack up camp. We had our packs under a tarp all night, but it did not stop the driving rain from getting to them the previous night. We had put pack covers on though so they stayed pretty dry. The biggest lesson we had followed, but was confirmed is prepare for rain no matter what the skies look like before you go to bed.
It was such a nice campsite to leave. You can alos see the bear box here where we would store our food every night.
Time to hit the trail and see the sites.
One of the more odd things we came across on the trail. Wonder what this story is?
After some hiking we stopped at a beautiful overlook for lunch.
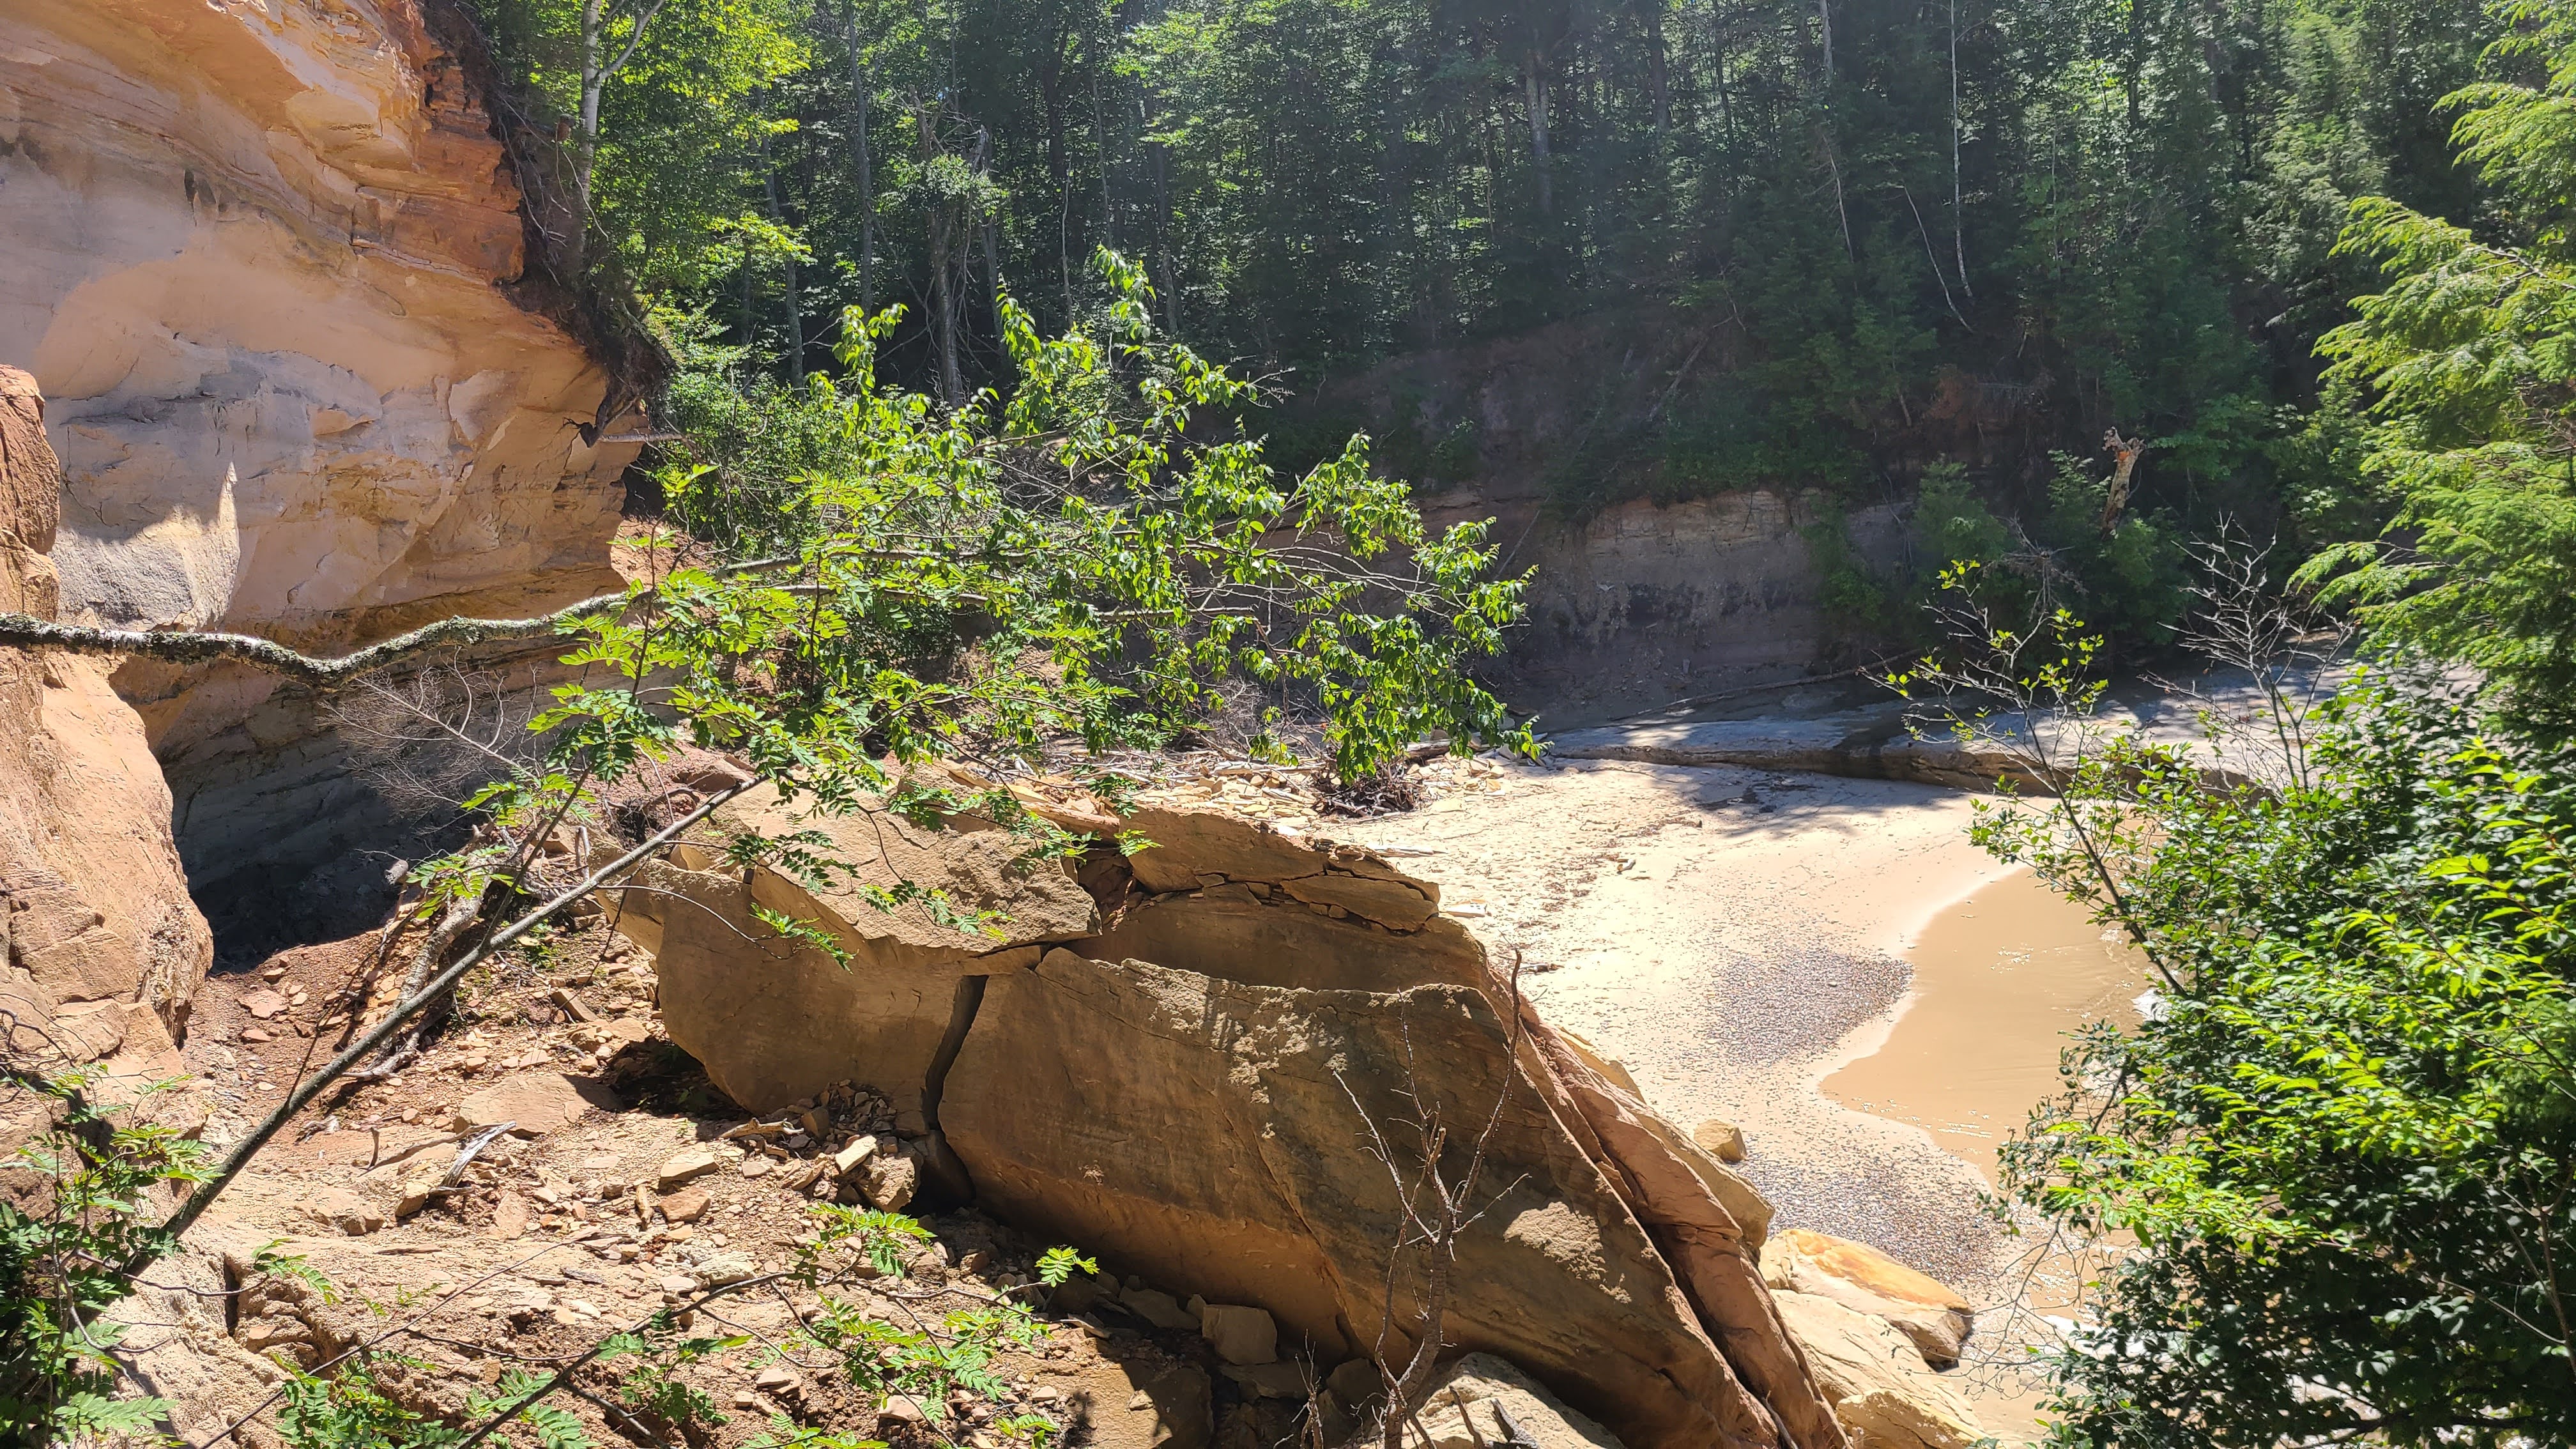
The next campsite we were hiking towards was the Coves Group site. As we got closer the trail was overlooking many of these coves where the rocks were cut away into these secluded spaces.
We started our hike at the lakeshore, but gradually the trails gains elevation.
As we gained elevation the beauty of the area really started to show.
After close to a 9 mile hike we found our campsite. Once again we had depleted much of our water and needed to make a water run to do some purifying. Since we were gaining elevation we no longer had access to the lake. We set up camp and then walked about a mile to the nearest creek to get water. The walk to get water had some of the most magnificent views of the entire trip.
This was Spray falls, a waterfall that falls from the cliffs into Lake Superior.
The sunset literally turned the water a fire red that night.
The weather this night was much more uneventful and it stayed dry.
Day 3
This day was going to be our biggest hike and so we broke camp and set out early. It was going to about a 14 mile hike to our next campsite. We were up on the cliffs and the path today would bring us down and back to the lake shore before we climbed once again near our final destination.
The trail really cut close to the edge in places!
One of the highlights on the path was Chapel Rock. There was a picture of this rock showing how it has changed and lost mass over the years from the elements.
We never saw any bear, but there were definite signs. At each campsite was a bear box to put your food in for the night. The bear seemed more active in some spots than others including the area around Chapel Rock.
As we continued hiking we began our decent from the cliffs down towards the lake again. The path moved from a beautiful forest and then to sand. By the way hiking in the sand is not very easy!
As we hiked through the sand we came upon an area called Miner's beach. It was a beautiful beach and we stopped to take a breather and get our packs off our backs. It was like a paradise and before I knew it I had fallen asleep right on the beach.
After resting our feet, taking a snooze and playing in the water for a bit we continued our hike to the next rest stop, Miner's Castle. The trail to our next stop meant gaining elevation again where we would be above the lake for the most of the rest of our trip. So the break as Miner's beach was welcome as it was quite a very quick elevation change that was felt with the packs on our backs.
We made our accent and got to Miner's Castle just in timeto make a dinner.. Miner's Castle is an area open to hikers and driving tourists alike. Rangers are set up here to give information about the area and there are trails from the parking lot that lead to some nice views. The biggest thing to see is Castle rock which is another rock formation jutting out above the lake.
As we took in the view and looked back down the coast we could see where the cliffs jut out into the Lake twice. The farther jut out is where we started our hike on the first day. Today's hike had taken us around the second jut out, down to the beach and then back up to our current location. Looking back across the lake it was neat to see to our progress of the days of hiking.
Miner's Castle was a big area open to driving tourists and so had a real bathroom!! It also had potable water so we made some dinner and filled up on water before making our way to our final campsite of the trip. We had hiked about 12 miles to get to miner's Castle and had about 2 more miles to hike to our next campsite called Cliffs.
Our last campsite, Cliffs!
Time to sit and relax. We actually passed out campsite and had to backtrack a bit. After about 15 miles of hiking we were ready to rest.
This campsite had a nice pit toilet back in the woods which was a nice find. :) Some luxury living at this site!!!
Day 4
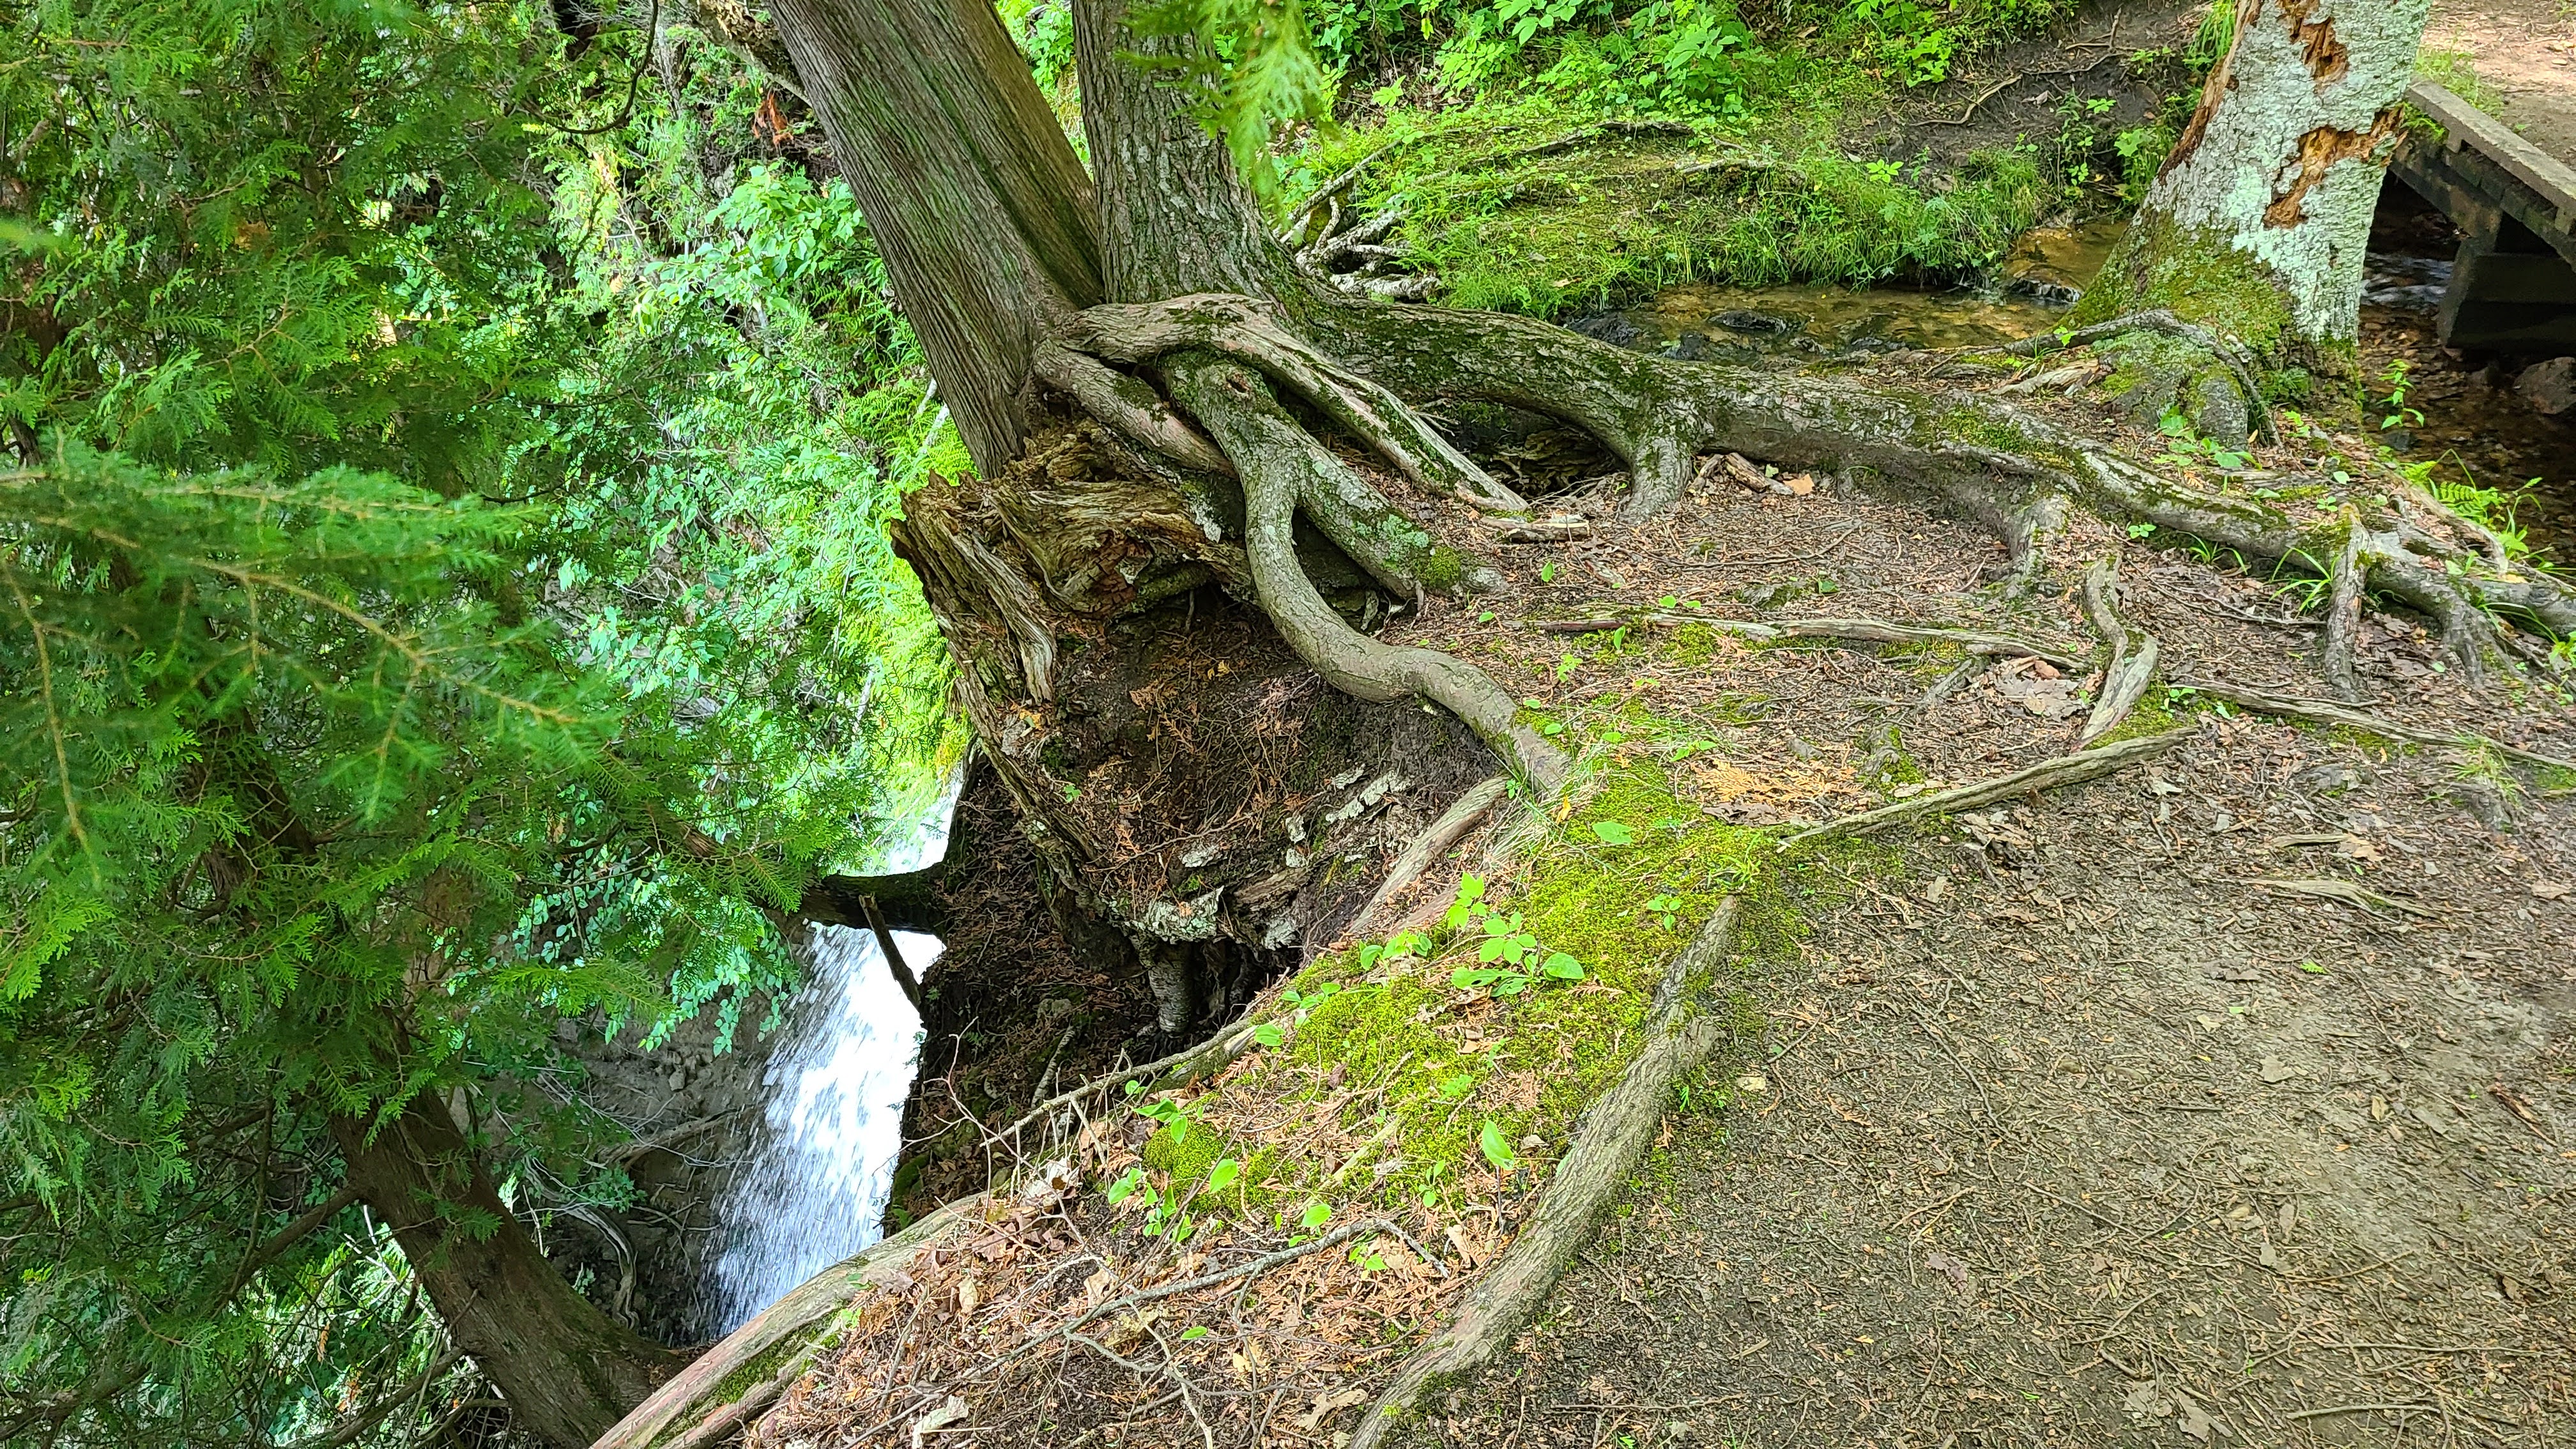
After a good night sleep and some morning coffee around the fire it was time to set out on our last hike of the trip. Our destination was the Munising Falls visitor center were we had left our vehicles and caught the shuttle on the first day.
The views over the lake were beautiful.
A few waterfalls were on the trail.
As we hiked we found a friend that was real curious about us.
After about 5 miles of hiking we made it to the end of our hike.
After the hike we all went into Munising and treated ourselves to some some non-dehydrated food! For lunch we all had Pasties, which is basically a handheld chicken or beef potpie rolled up in a thin pie crust like bread. wI had never heard of these things, but they are everywhere in this area. It was so good!!
If you ever get a chance to hike this trail I highly recommend it.
Here are a few things I would recommend based on our experience.
1. Hiking Poles are really helpful
At first I did not think hiking poles would be very useful. They felt cumbersome and awkward the first day of using them. But as we started to go up hills, down hills and over muddy terrain they became invaluable. They gave balance but also really helped your needs on the up and down parts of the trail. They make really expensive poles but we found the Trailbuddy Hiking poles off amazon worked really nicely.
2. Blisters are for real
We all did everything we could to try and prep for blisters and I still ended up getting some. We all had liner socks and then wool hiking socks. However some of the guys had liner socks with individual toes. These seemed to really work as they keep the toes from rubbing and rubbing toes is what caused my blisters. I will definitely get the toe socks next trip.
There was also some blister paste to put on your feet that seemed to help prevent blisters that we all started using into the trip.
For the blisters I did get, some moleskin really kept the blister bearable to keep walking. Do not go on a hike without moleskin!!
3. Have a nice water purifier
We were able to get water from the lake or a creek pretty easily. Potable water is not accessible for most of the trail so having the purifier is necessary. I was drinking a 3 L bladder of water and 2 full nalgenes almost everyday. Having some Gatorade powder or flavored drink tablets to add to one of your nalgenes not only gives some calories, but helps hide any off flavors from the purified water. The water from the lake definitely tasted better than we we had to get water from a creek.
4. Have some anti-chaff cream
The main thing to remember is do not wear anything cotton. Wear clothes that will wick moisture and dry quick. However as you sweat and especially when it is wet or humid you can definitely chaff. If this happens be prepared.
4. Zip-off pants are awesome
We all had zip off pants. They easily turned to shorts when we got hot or wanted to put our feet in the lake, but could zip back on to pants when it got chilly or the flies came out. They were great!
5. Pack plenty of snacks
We were burning 5000-6000 calories every day with our packs on. We all felt our body craving some calories and we would make snack stops to refill on energy. Snacks could be nuts, jerky, energy chews, meat sticks, combos, etc. I thought I over packed snacks, but we ate almost everything.
6. Pack as light as you can manage.
Watch your weight in the pack. Every pound starts to add up as the miles add up. We all averaged around 32-35 lb packs for the 4 days. The tent was a big part of the weight and then there are things you will want. Just find lightweight versions of them. a titanium bowl and mug for example. We all wanted chairs and they sell very lightweight chairs as well. Mine was only 1 lb. Just pay attention to each objects weight as it adds up fast. This list is really useful if you ever prepare for a hike.
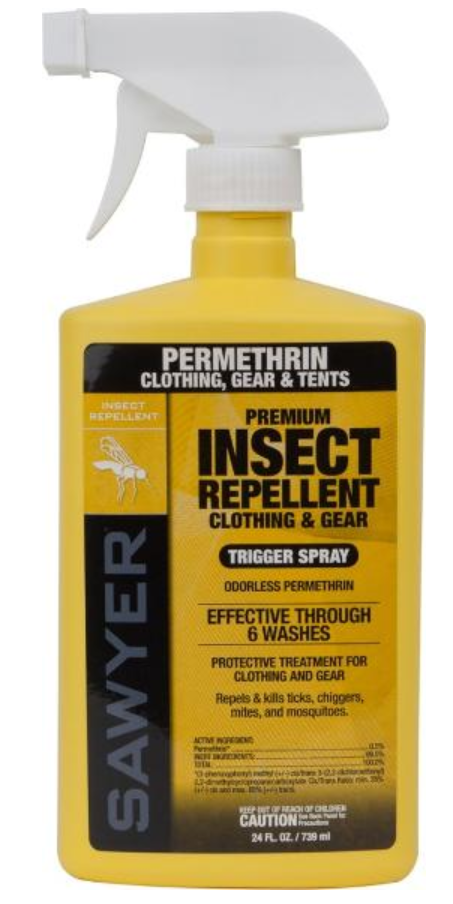
7. Be prepared for bugs.
Most all of us sprayed our clothes with permethrin before we left. Once sprayed the effects will last for weeks and through several washings. It is effective against ticks and mosquitoes and it really worked well. I never saw any ticks on us and the mosquitoes would buzz around and then leave quickly as long as you were wearing the sprayed clothes. If you did have exposed skin then Deet still was our alternative. Unfortunate nothing really helped the flies except covering you skin. They only bugged us one night thankfully. Here is what I used.
See everyone on the next hike.