Monday, July 27, 2020

Backpacking the Pictured Rocks National Lakeshore

It has been a tough year with COVID.  Schools, places of business, sports and all matter of other activities have all had to adjust to the pandemic of 2020.   Due to the virus vacation plans may have been adjusted for many of you and it was no different for us.  My oldest son son, Landon, and I were planning to go to New Mexico for a week of backpacking at the Scout ranch Philmont.  This event was canceled and it left us really wanting to still get some time in the outdoors.   The alternative trip we planned was a bit closer and a bit shorter, but still an amazing experience.

If any of you want to plan a backpacking trip out to Pictured Rocks National Lakeshore here is some info that may help you plan.  If backpacking is not your thing, then you can just enjoy some pictures highlighting the beauty of the Lake Superior and its shore.

All in all we were 5 adults and 5 teenagers.  It was a 8 hour drive from our home in Indiana to the Lakeshore.   We spent most of the arrival day driving so we planned to drive to a campsite the first night, set up camp and then spend 4 days hiking about 34 miles of the trail.

The full Lakeshore trail is 42 miles.   Some of it is a lot of sand hiking so we cut our hike down to 34 miles.


The Lakeshore Trail that we would hike is actually part of a very big North Country Trail system that spans multiple states.


Arrival

We drove to Munising, MI and set up camp at the Munising Tourist Lakeside Camp.  If you like camping, this is a really nice place for either tent or RV camping.  It is 5 minutes from downtown Munising which is an awesome little lake town.  The campsite also has water and a showers.


After setting up camp and getting a good night sleep it was time to get on the trail and do some backpacking.  There is a shuttle that runs each day to the various campsites on the Lakeshore Trail.   We decided we would would park our cars at the Munising Falls Visitor Center (about 15 minutes from the Munising Tourist Lakeshore Campsite), grab the shuttle and then steadily hike the trail back to our cars over the course of the next 4 days. 

Here is the shuttle service that runs to the various campsites. 


Day 1

We took the bus shuttle to Hurricane, where we would start our hike.  Some heavy rains came down that morning.   Luckily the really heavy rains fell while we on the hour and half bus ride to our starting position.   As we got off the bus rain was still coming down a bit so we threw on our rain gear, covered and packs and started our journey down the Lakeshore Trail.


The trail follows the lake for the entire way.  Sometimes we were in the forest beside the lake while other times the trail opened up to beautiful views of the lake.


After about a 6 mile hike we arrived at our first campground called Seven Mile Group site.   This is true back country hiking.  Once you get on this trail there is no easy way off and there is no cell service.  Besides setting up camp we needed to get water which meant purifying your water so be sure you bring a purifier.  We had 2 of them in order to have a backup.  When you can get water from the lake it was by far the better tasting than when we had purify out of a creek.


Our campsite had a quick trail right to a pristine beach.  As we walked out on the beach to get water we had our first encounter with the stable biting flies.   And yes they bite!!   I heard several yelps as flies bit into us. These flies come out when the environmental conditions are right and unfortunately it must have been perfect this afternoon.   They land in droves on exposed skin and proceed to bite.   Deet does absolutely nothing to deter them.   The best thing is wear long pants, long sleeves and a hat.   We were mostly wearing shorts so we all quickly moved to long pants.   Getting in the water will also keep them at bay.   These flies were no joke, but they only really bothered us on the beach and they would disappear once we retreated a short distance into the woods of our campsite.  


Landon decided he wanted to completely get away from any chance of another fly attack.


Playing some games while we relax from the hike


Finally the winds changed and flies went away.   We all walked down to the beach to watch the sunset and enjoy the nice night.    One thing about the lake is there are some of the most beautiful rocks including polished and flat ones.  The boys spent a lot time skipping rocks on the lake.  
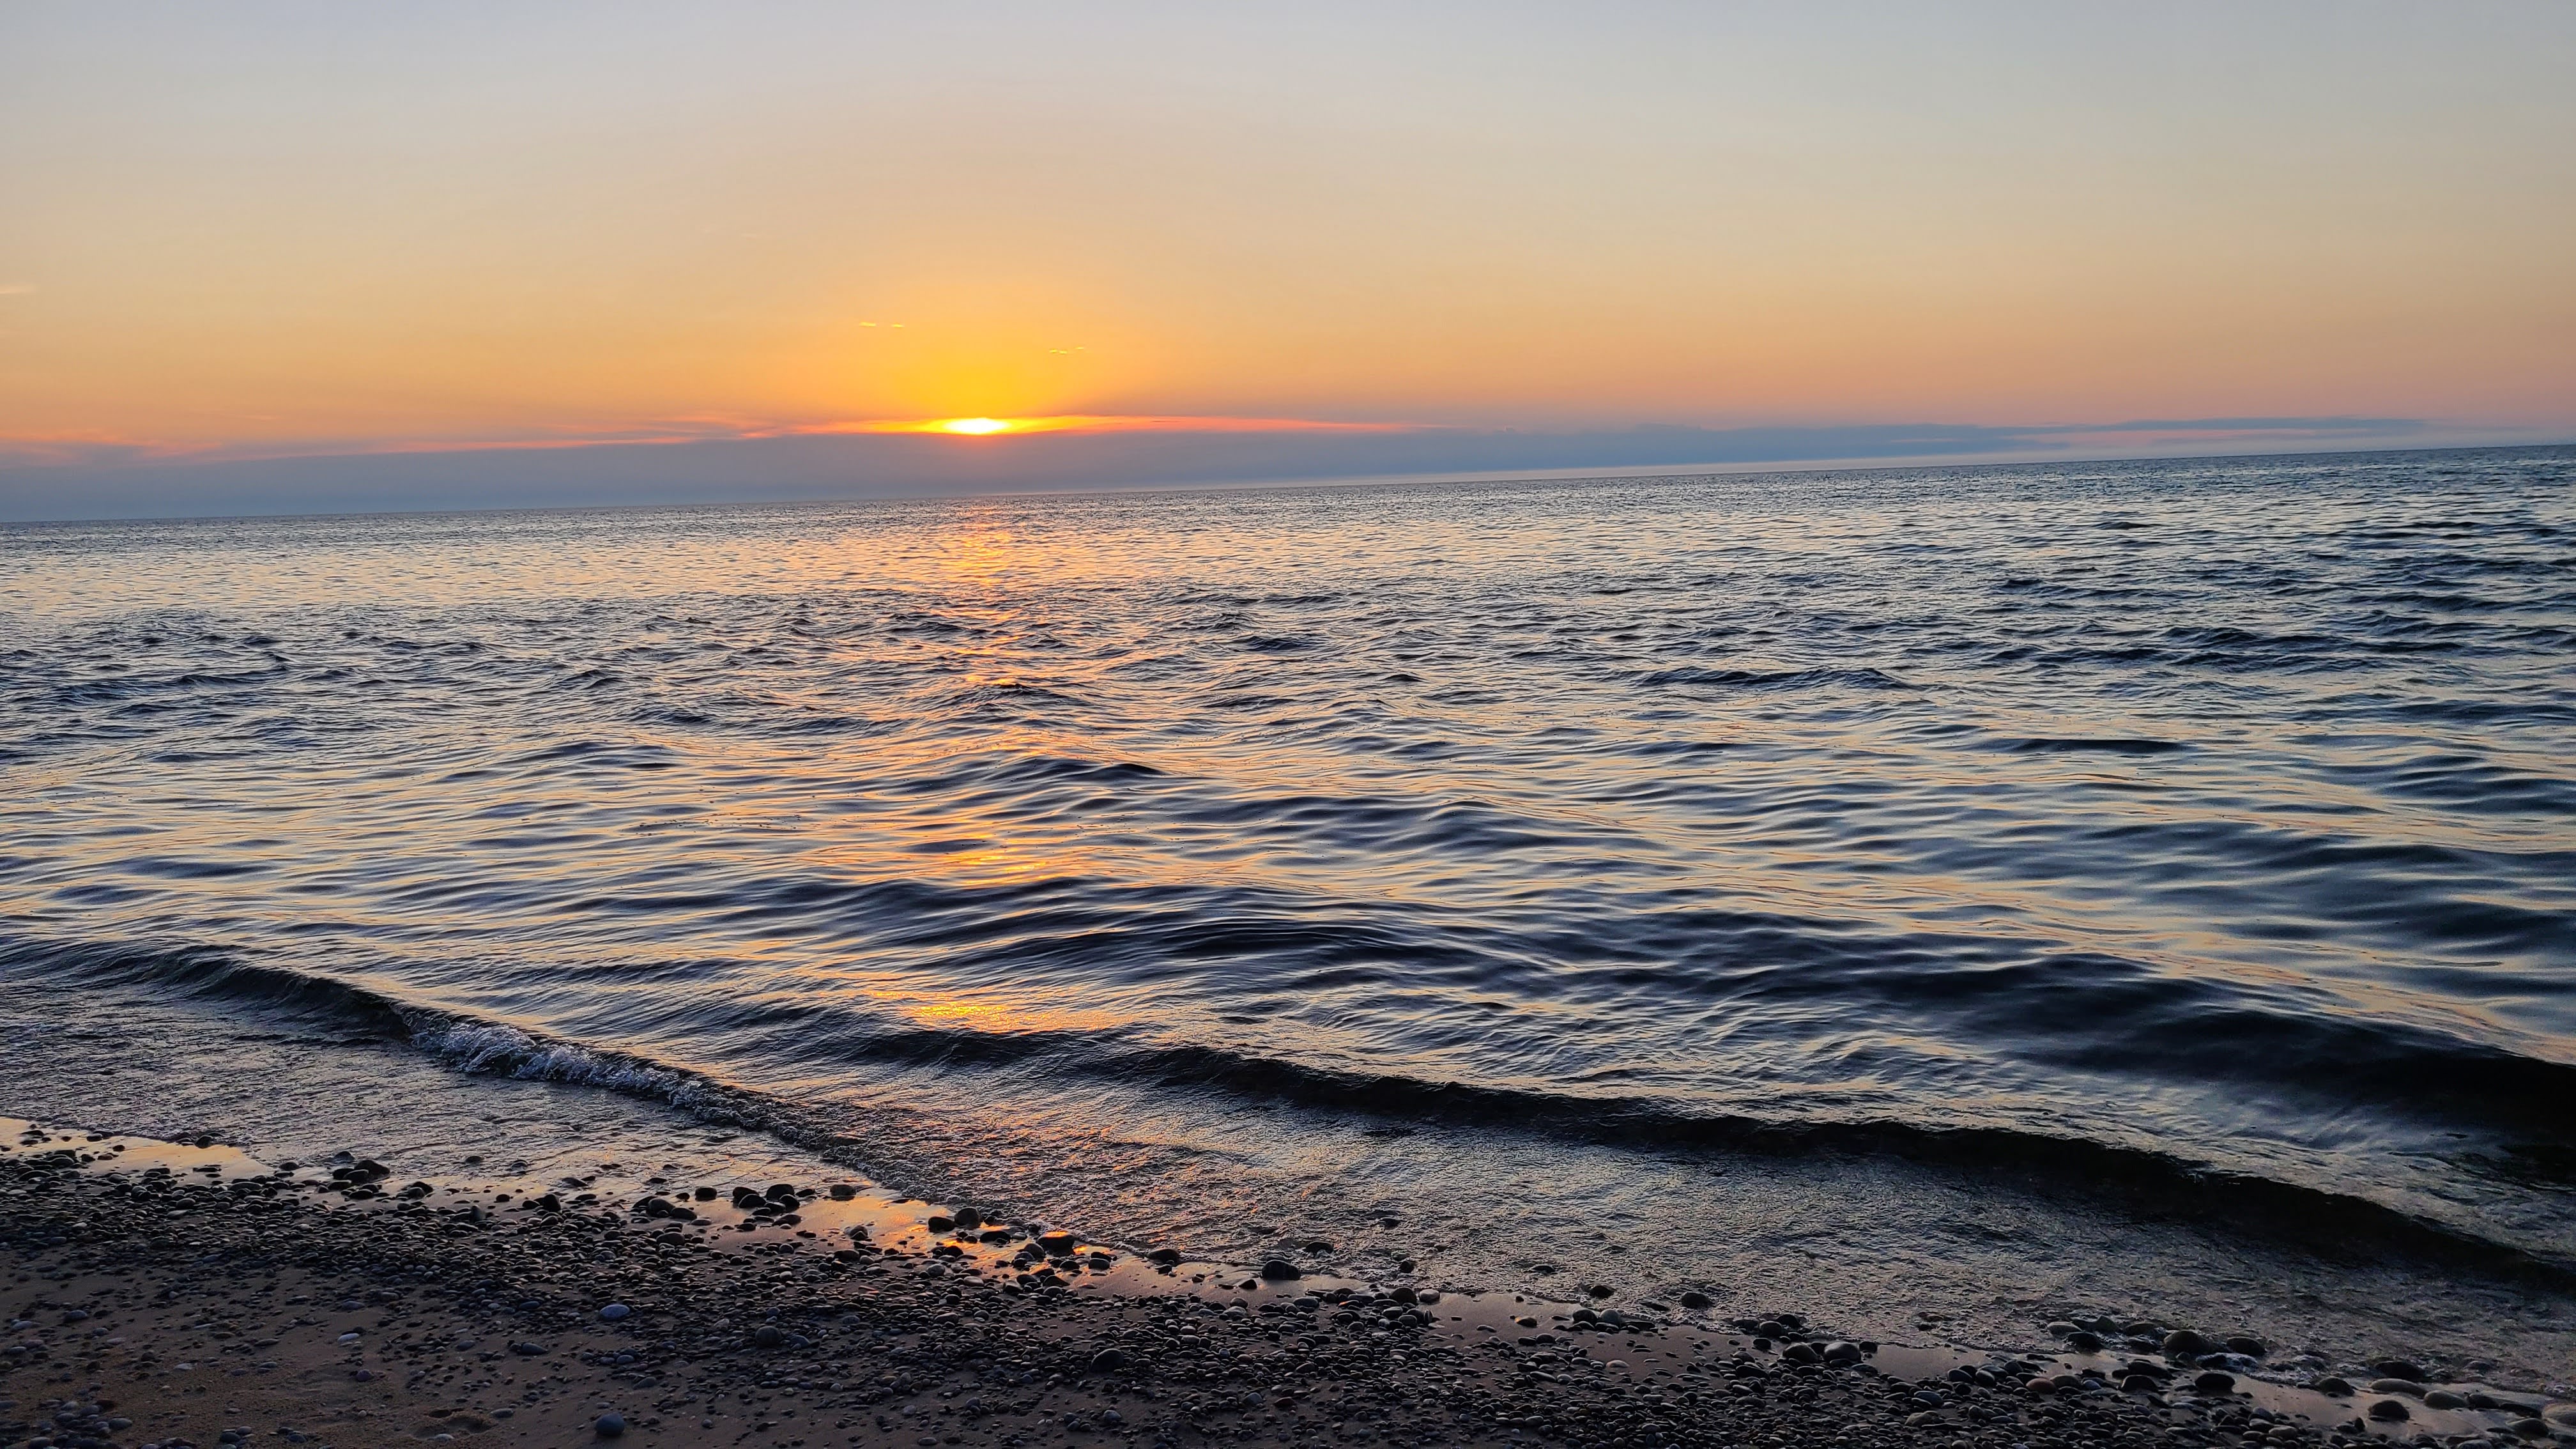


The skies cleared nicely and we waited for the stars to come out while searching for Comet Neowise.  Sure enough we found it right under the big dipper above the lake with the naked eye.   If you looked just right you could see the comet and its tail hovering above Lake Superior. 

Here was Big Dipper above the lake.  The comet is at the very bottom of the picture.


Look closely and you will see Comet Neowise.


The beauty of the stars gave no warning to the storms that would roll through that night.  At about 2 AM we all awoke to what sounded like like a train barreling down on us.  After hearing that noise coming across the lake it quickly arrived to us which came in the form of very heavy winds.  For about 4 hours the wind, the freight train sound, the thunder and monsoon rain did not let up.   Some of us fared better than others that night.  One dad and son had a good bit of sideways rain go through the tent vents and get everything pretty wet.  Another camper was spreading his body in his tent to keep it from blowing up  and away while he was in it.   It was an unforgettable night.  We later found out that some locations with wind tracking measured wind gusts as high at 76 mph making the storm equivalent in place to a Cat 1 Hurricane in places.   It is hard to explain the experience without going through it in a tent, but we were all thankful it blew over and left us all safe.

Day 2

After surviving the storm and a lack of sleep it was time to pack up camp.  We had our packs under a tarp all night, but it did not stop the driving rain from getting to them the previous night.  We had put pack covers on though so they stayed pretty dry.   The biggest lesson we had followed, but was confirmed is prepare for rain no matter what the skies look like before you go to bed.


It was such a nice campsite to leave.  You can alos see the bear box here where we would store our food every night.  


Time to hit the trail and see the sites.  


One of the more odd things we came across on the trail.  Wonder what this story is?


After some hiking we stopped at a beautiful overlook for lunch.


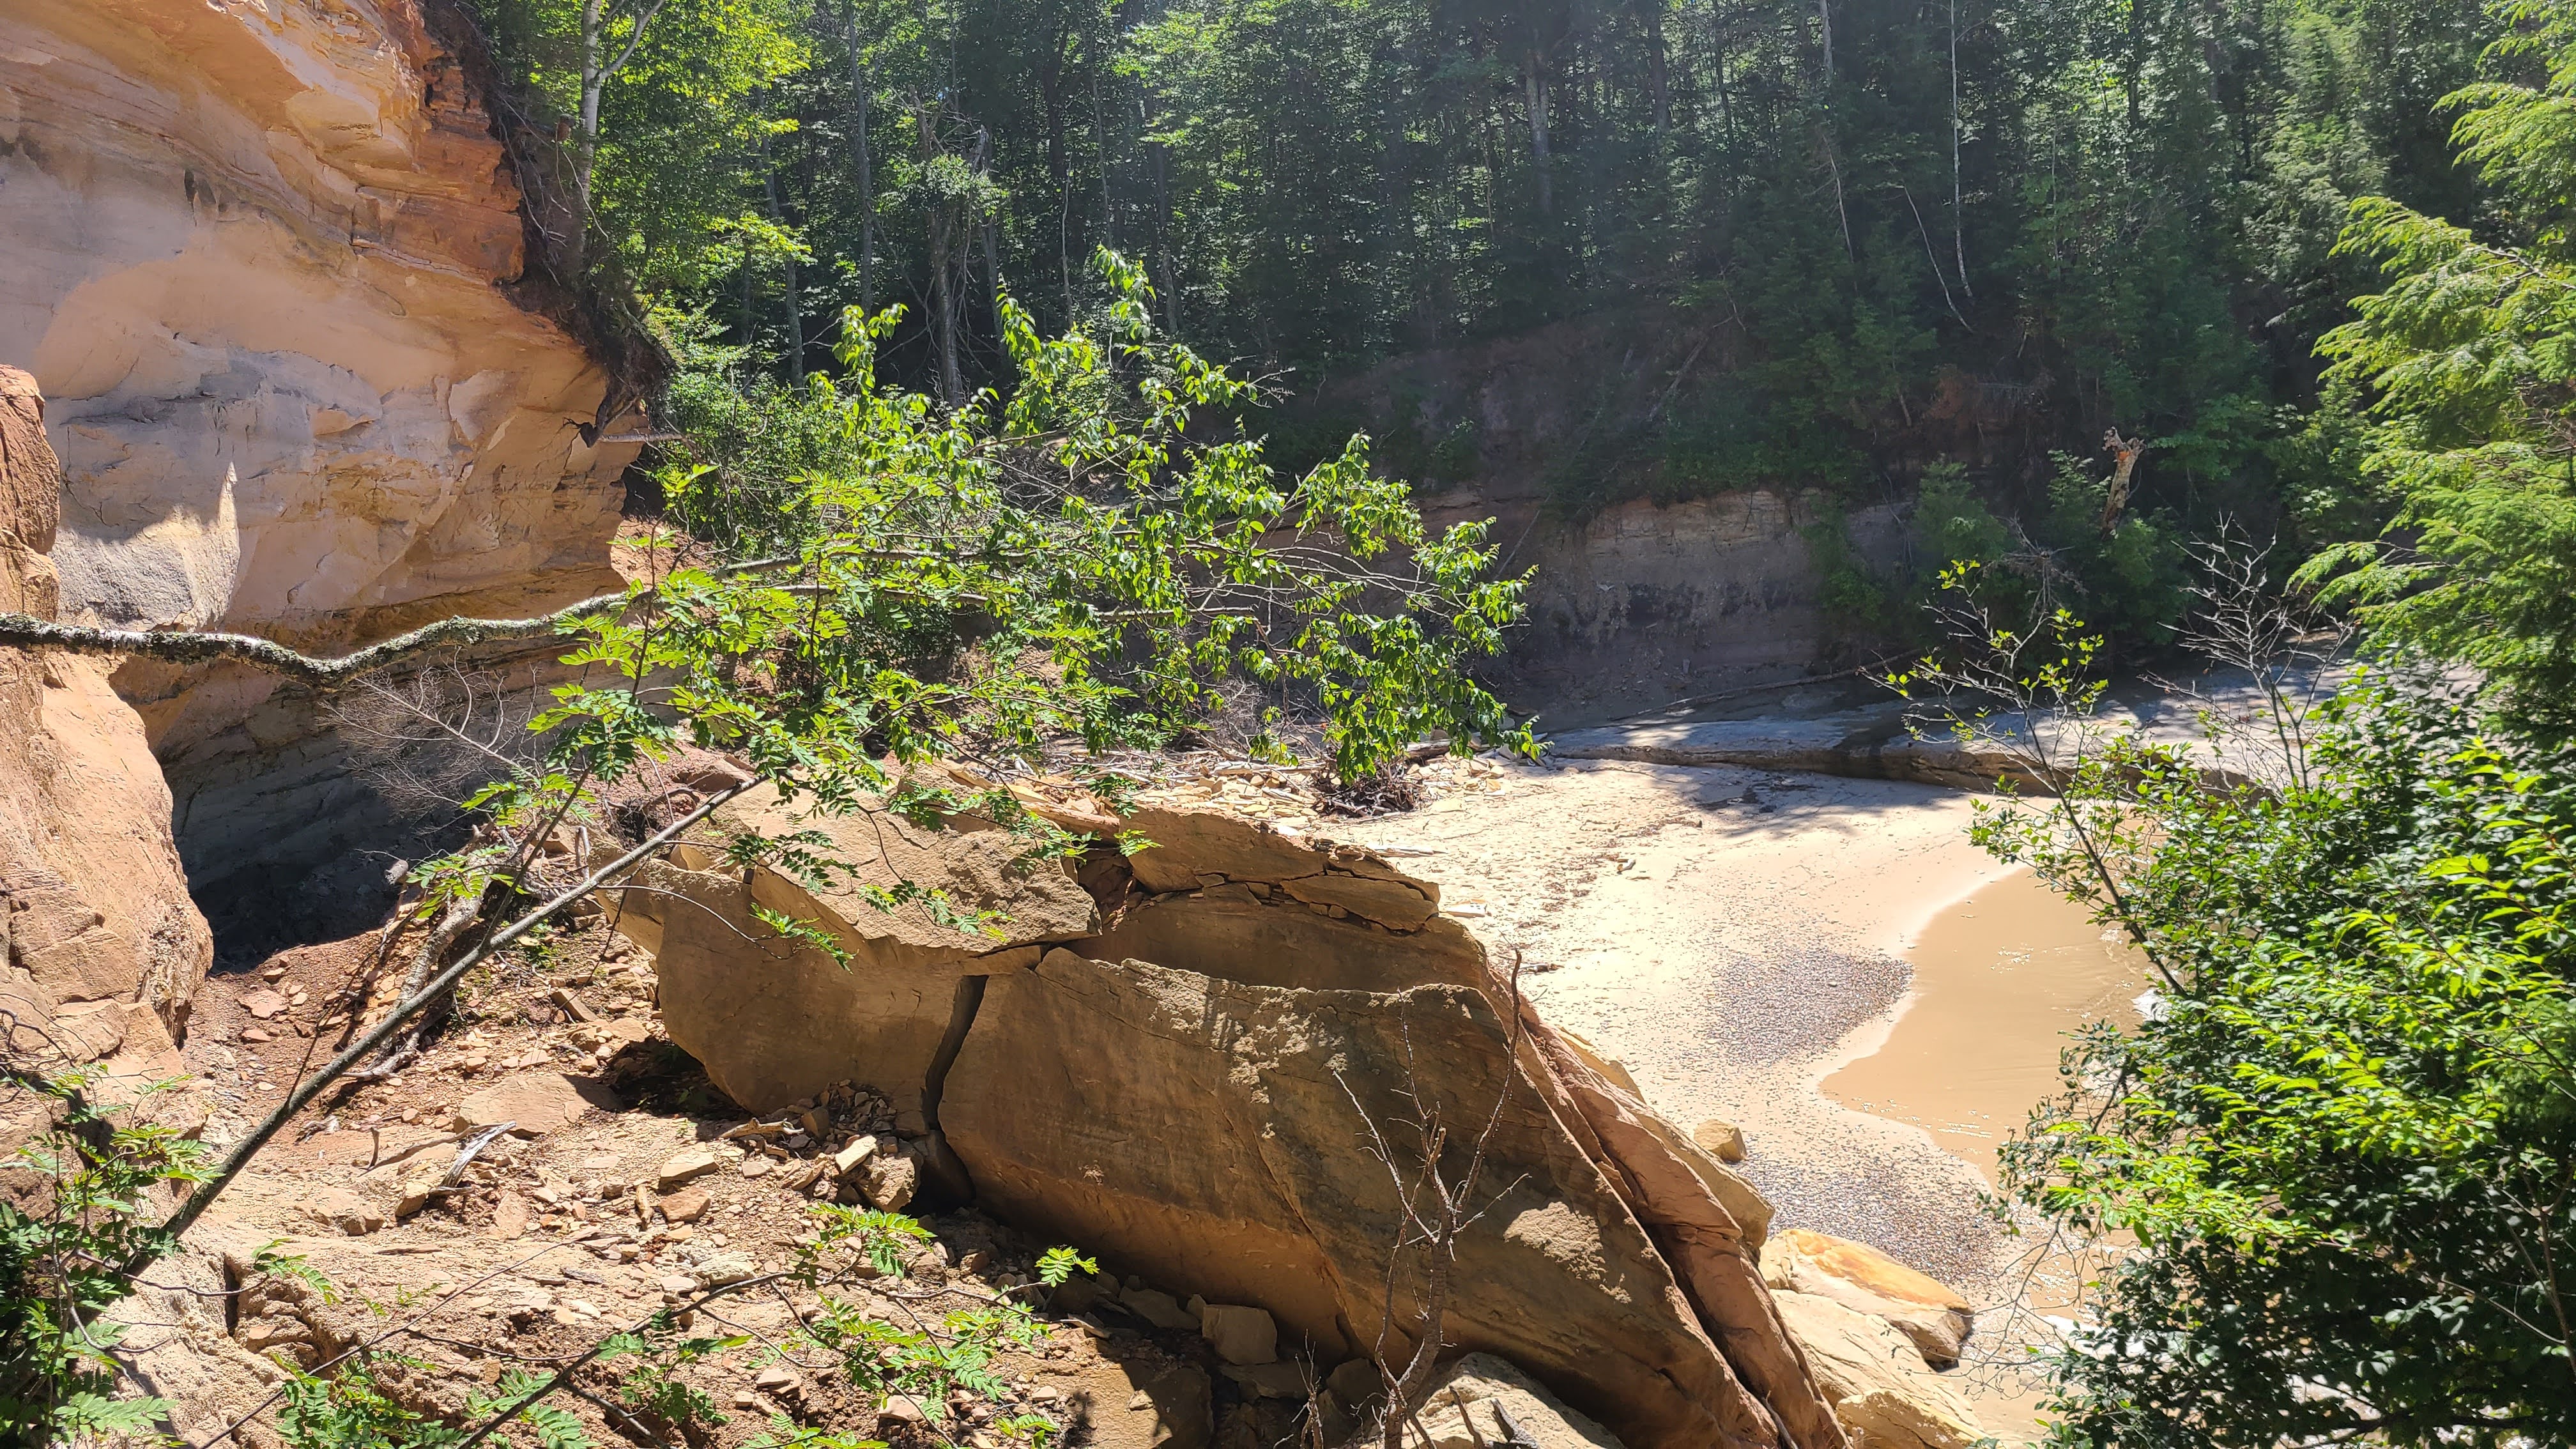
The next campsite we were hiking towards was the Coves Group site.  As we got closer the trail was overlooking many of these coves where the rocks were cut away into these secluded spaces.


We started our hike at the lakeshore, but gradually the trails gains elevation.


As we gained elevation the beauty of the area really started to show.


After close to a 9 mile hike we found our campsite.  Once again we had depleted much of our water and needed to make a water run to do some purifying.   Since we were gaining elevation we no longer had access to the lake.  We set up camp and then walked about a mile to the nearest creek to get water.  The walk to get water had some of the most magnificent views of the entire trip.

This was Spray falls, a waterfall that falls from the cliffs into Lake Superior. 


The sunset literally turned the water a fire red that night.


The weather this night was much more uneventful and it stayed dry.

Day 3

This day was going to be our biggest hike and so we broke camp and set out early.  It was going to about a 14 mile hike to our next campsite.   We were up on the cliffs and the path today would bring us down and back to the lake shore before we climbed once again near our final destination.

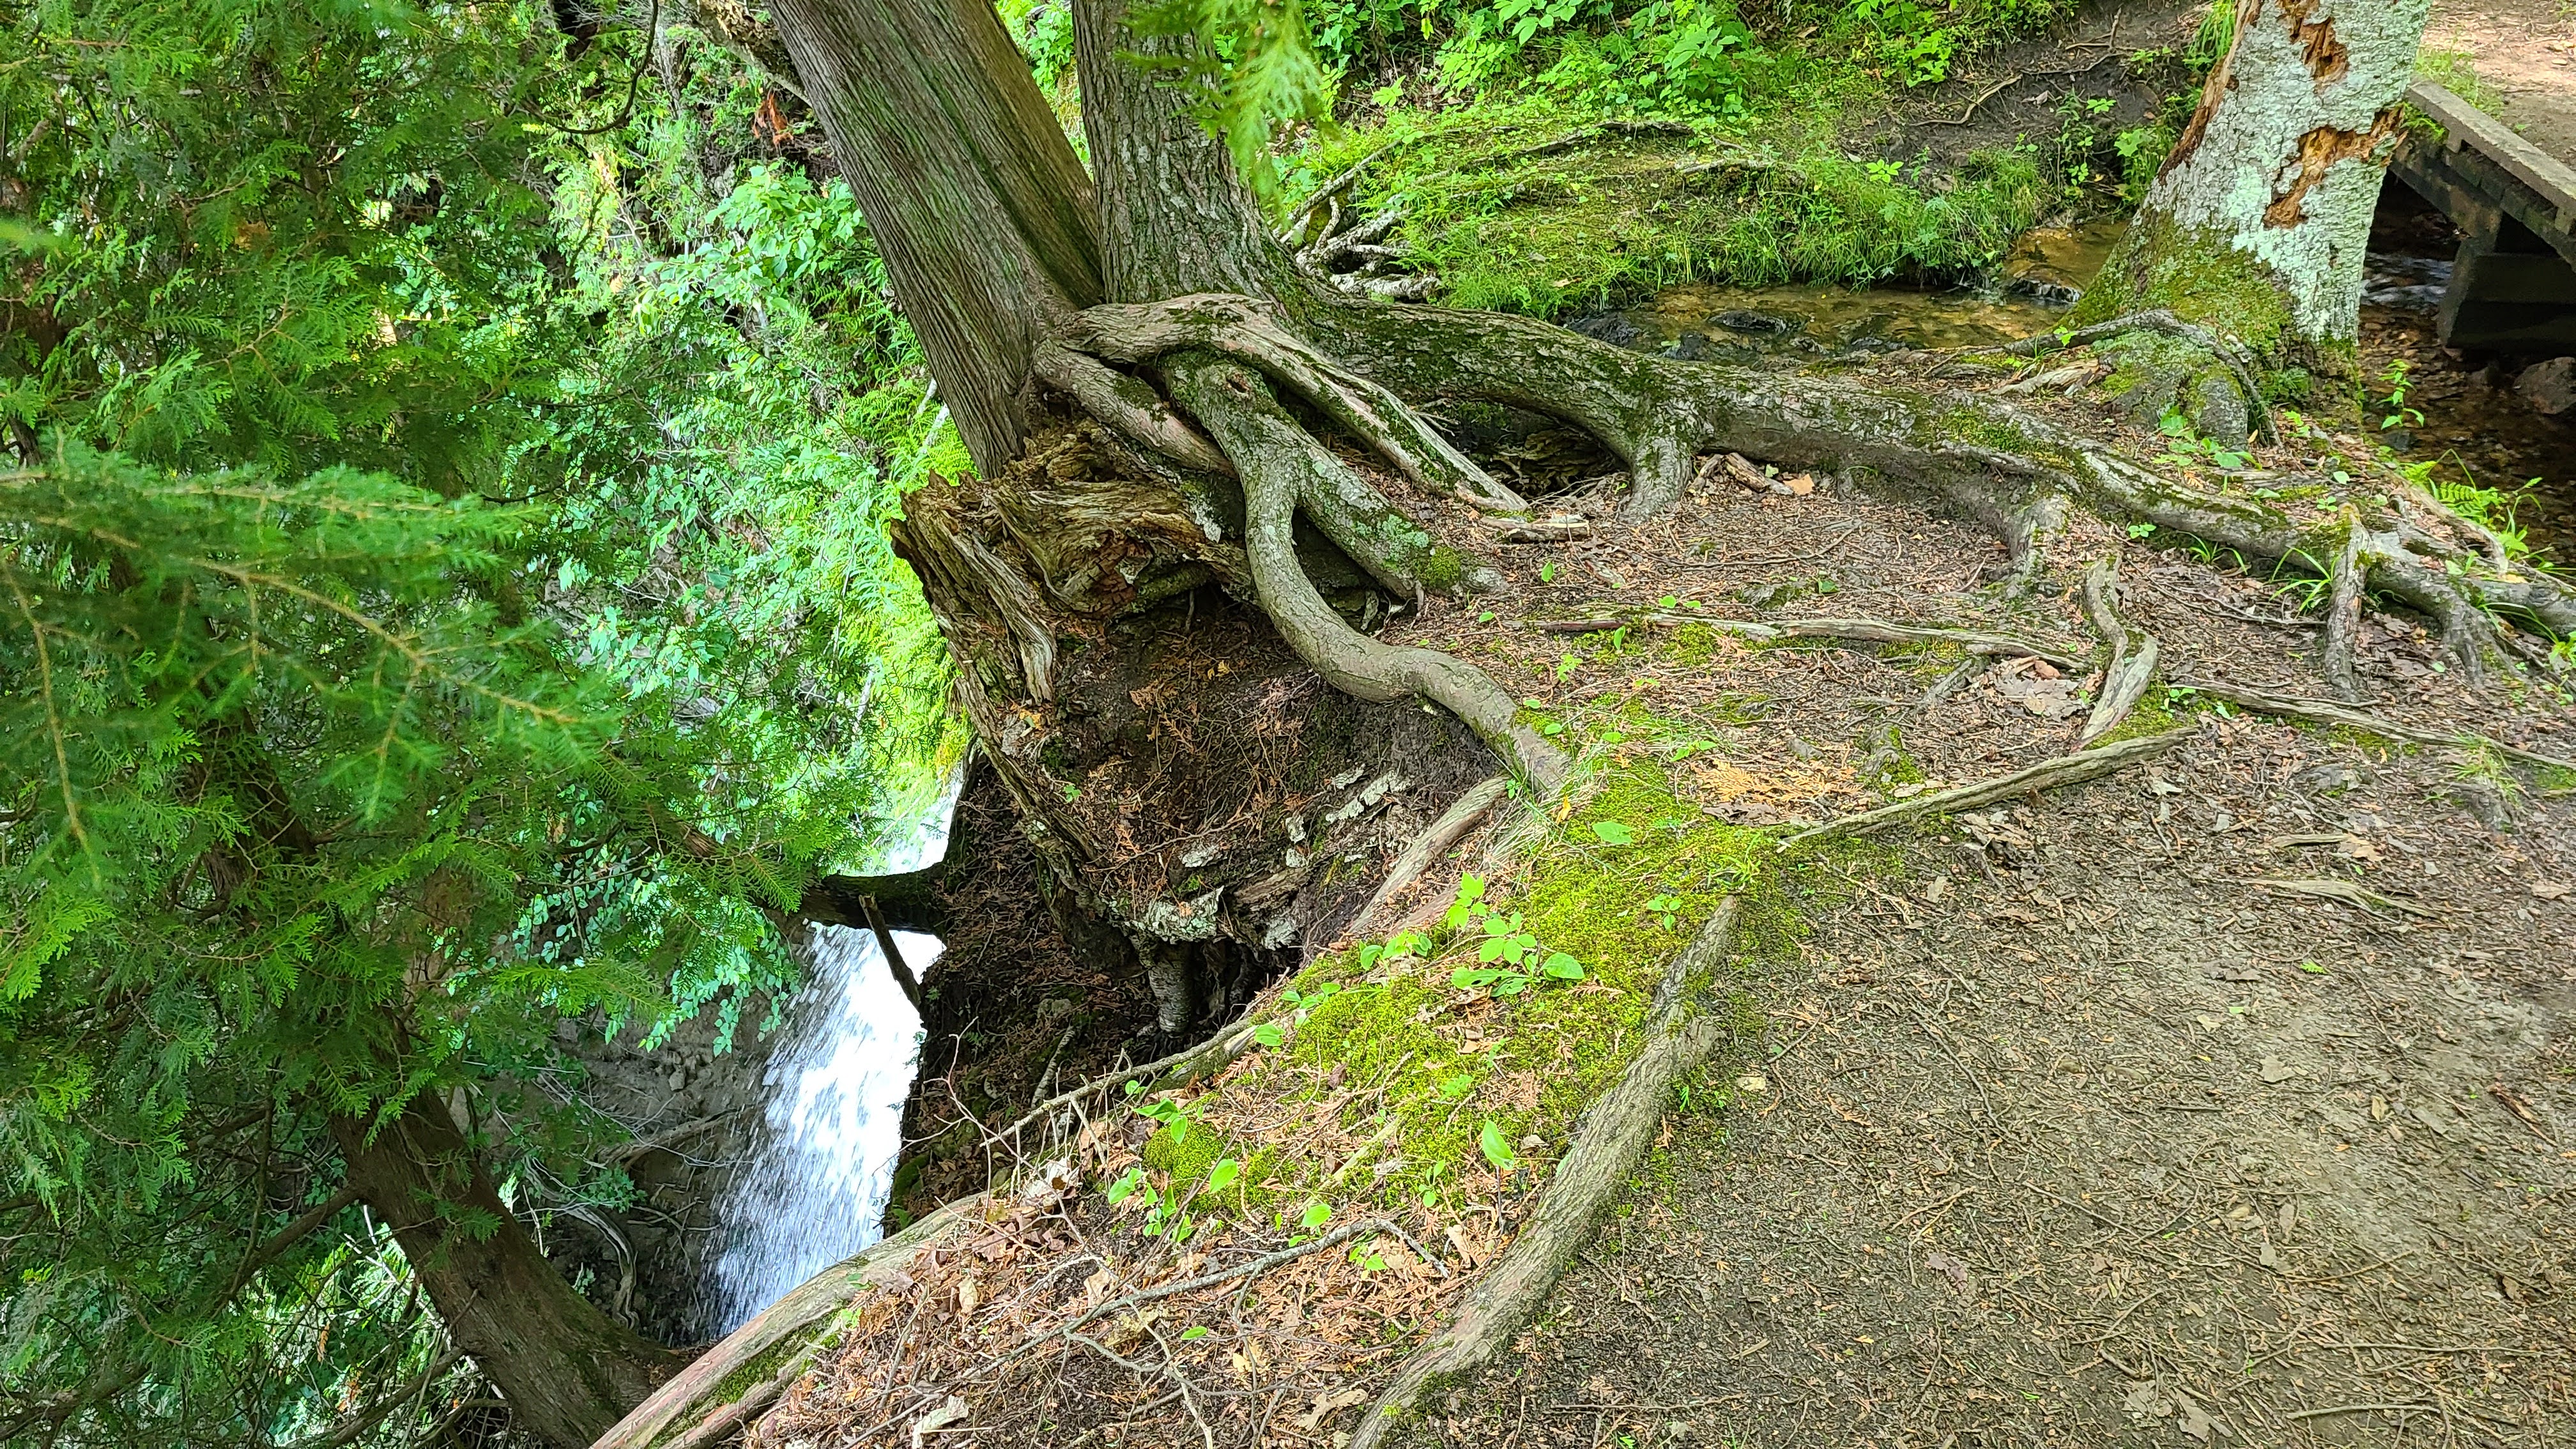
The trail really cut close to the edge in places!


One of the highlights on the path was Chapel Rock.  There was a picture of this rock showing how it has changed and lost mass over the years from the elements.


We never saw any bear, but there were definite signs.  At each campsite was a bear box to put your food in for the night.   The bear seemed more active in some spots than others including the area around Chapel Rock.


As we continued hiking we began our decent from the cliffs down towards the lake again.  The path moved from a beautiful forest and then to sand.   By the way hiking in the sand is not very easy!


As we hiked through the sand we came upon an area called Miner's beach.  It was a beautiful beach and we stopped to take a breather and get our packs off our backs.   It was like a paradise and before I knew it I had fallen asleep right on the beach.


After resting our feet, taking a snooze and playing in the water for a bit we continued our hike to the next rest stop, Miner's Castle.   The trail to our next stop meant gaining elevation again where we would be above the lake for the most of the rest of our trip.   So the break as Miner's beach was welcome as it was quite a very quick elevation change that was felt with the packs on our backs.   

We made our accent and got to Miner's Castle just in timeto make a dinner..  Miner's Castle is an area open to hikers and driving tourists alike.   Rangers are set up here to give information about the area and there are trails from the parking lot that lead to some nice views.   The biggest thing to see is Castle rock which is another rock formation jutting out above the lake.    


As we took in the view and looked back down the coast we could see where the cliffs jut out into the Lake twice.   The farther jut out is where we started our hike on the first day.   Today's hike had taken us around the second jut out, down to the beach and then back up to our current location.   Looking back across the lake it was neat to see to our progress of the days of hiking. 


Miner's Castle was a big area open to driving tourists and so had a real bathroom!!   It also had potable water so we made some dinner and filled up on water before making our way to our final campsite of the trip.  We had hiked about 12 miles to get to miner's Castle and had about 2 more miles to hike to our next campsite called Cliffs.


Our last campsite, Cliffs!


Time to sit and relax.  We actually passed out campsite and had to backtrack a bit.  After about 15 miles of hiking we were ready to rest.


This campsite had a nice pit toilet back in the woods which was a nice find.  :)   Some luxury living at this site!!!


Day 4

After a good night sleep and some morning coffee around the fire it was time to set out on our last hike of the trip.  Our destination was the Munising Falls visitor center were we had left our vehicles and caught the shuttle on the first day.


The views over the lake were beautiful.


A few waterfalls were on the trail.


As we hiked we found a friend that was real curious about us.


After about 5 miles of hiking we made it to the end of our hike.   


After the hike we all went into Munising and treated ourselves to some some non-dehydrated food!   For lunch we all had Pasties, which is basically a handheld chicken or beef potpie rolled up in a thin pie crust like bread.  wI had never heard of these things, but they are everywhere in this area.   It was so good!!   


If you ever get a chance to hike this trail I highly recommend it. 

Here are a few things I would recommend based on our experience.

1.  Hiking Poles are really helpful

At first I did not think hiking poles would be very useful.  They felt cumbersome and awkward the first day of using them.  But as we started to go up hills, down hills and over muddy terrain they became invaluable.  They gave balance but also really helped your needs on the up and down parts of the trail.  They make really expensive poles but we found the Trailbuddy Hiking poles off amazon worked really nicely.  


2.  Blisters are for real

We all did everything we could to try and prep for blisters and I still ended up getting some.   We all had liner socks and then wool hiking socks.  However some of the guys had liner socks with individual toes.  These seemed to really work as they keep the toes from rubbing and rubbing toes is what caused my blisters.   I will definitely get the toe socks next trip.


There was also some blister paste to put on your feet that seemed to help prevent blisters that we all started using into the trip.


For the blisters I did get, some moleskin really kept the blister bearable to keep walking.  Do not go on a hike without moleskin!!


3.   Have a nice water purifier

We were able to get water from the lake or a creek pretty easily.  Potable water is not accessible for most of the trail so having the purifier is necessary.  I was drinking a 3 L bladder of water and 2 full nalgenes almost everyday.   Having some Gatorade powder or flavored drink tablets to add to one of your nalgenes not only gives some calories, but helps hide any off flavors from the purified water.   The water from the lake definitely tasted better than we we had to get water from a creek.

4.  Have some anti-chaff cream

The main thing to remember is do not wear anything cotton.  Wear clothes that will wick moisture and dry quick.   However as you sweat and especially when it is wet or humid you can definitely chaff.  If this happens be prepared.

4.  Zip-off pants are awesome

We all had zip off pants.   They easily turned to shorts when we got hot or wanted to put our feet in the lake, but could zip back on to pants when it got chilly or the flies came out.   They were great!

5.  Pack plenty of snacks

We were burning 5000-6000 calories every day with our packs on.   We all felt our body craving some calories and we would make snack stops to refill on energy.  Snacks could be nuts, jerky, energy chews, meat sticks, combos, etc.   I thought I over packed snacks, but we ate almost everything.

6.  Pack as light as you can manage.

Watch your weight in the pack.  Every pound starts to add up as the miles add up.  We all averaged around 32-35 lb packs for the 4 days.   The tent was a big part of the weight and then there are things you will want.  Just find lightweight versions of them.   a titanium bowl and mug for example.  We all wanted chairs and they sell very lightweight chairs as well.  Mine was only 1 lb.  Just pay attention to each objects weight as it adds up fast.  This list is really useful if you ever prepare for a hike.  


7. Be prepared for bugs.

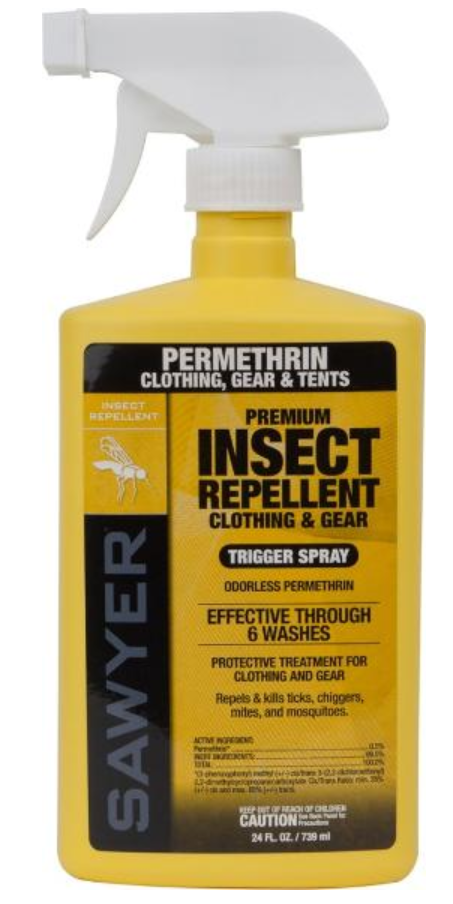
Most all of us sprayed our clothes with permethrin before we left.  Once sprayed the effects will last for weeks and through several washings.  It is effective against ticks and mosquitoes and it really worked well.   I never saw any ticks on us and the mosquitoes would buzz around and then leave quickly as long as you were wearing the sprayed clothes.   If you did have exposed skin then Deet still was our alternative.    Unfortunate nothing really helped the flies except covering you skin.  They only bugged us one night thankfully.   Here is what I used.


See everyone on the next hike. 


Monday, April 13, 2020

Science for Kids: Capillary Action (Rainbow Walking Water)


We are living in an interesting time with COVID-19.   School has switched to e-learning and the kids are home for the rest of the year.   If you are like our family there are good moments and then there are the times the kids are going a little stir crazy!  Well there are lots of cool science experiments out there that can give the kids some entertainment while still learning.

This experiment is in a video format, however be sure to check out the other "Science for Kids" activities I have blogged on in the past.

Link to other activities!


As for the experiment we are going to do today, it is a very simple one to do at home.   It helps explain and show  how water can actually move UP.  A really tall tree still needs water to reach all the way to the top.  How does this work?  Well let's take a look to find out.

Enjoy trying this experiment out!  If you would like to go directly to You Tube just click this link:  Science for Kids: Capillary Action (Water Walking Rainbow) Experiment and Video


Monday, January 6, 2020

Astrophotography: Horsehead and Flame Nebula

It's 2020 and a new decade!  While I look forward to all the new changes a new year will bring, our night sky mostly looks the same for most of our lifetimes.  It is always nice to take some time and see some of the hidden beauty that is above us every night.    I always look forward to the last few weeks of December since this is usually a time I can try my hand at a few pictures while on Christmas break.   One of the most common targets in our night sky that I have never tried to shoot is the Horsehead nebula (IC 434) and so I took the opportunity to try to get a shot.

This was my second imaging session with the ASIair and since I last used it they added a polar align feature.   I tried messing with it a bit, but I still found it pretty clunky.    I needed to do a new plate solve and wait for the software after each polar adjustment of my scope.   The polar align feature  was cumbersome compared to using Sharpcap that can help you polar align in real time.  So in the end I hooked up my camera up to Sharpcap for polar align and for focusing.  However after that, the ASIair really did a great job controlling my mount and taking the pictures.  If you are interested in how to use the ASIair check out my last astrophotography blog entry:  M81 and M82 with the ASIair

Here is the final pictures of the Horsehead Nebula I was able to acquire.  While the Horsehead is predominant in the picture, there is a lot of other stuff to see in this active region in our sky.


The Horsehead nebula is located in the Orion constellation.   In fact the super bright star that lights up the picture is the star Alnitak.   It is the brightest O-type star in the entire night sky and makes up one of three stars on Orion's belt.   To the right of Alnitak is the Horsehead nebula which is a dark cloud of dust and gas that is making the "horsehead" shape.   This area is a place where star formation is happening.   The horse head sits in front of a beautiful red background of ionized hydrogen that is common in this entire area.  To the left of the star Alnitak is the Flame nebula (NGC 2024).  The ultraviolet rays from the star Alnitak are knocking electrons form the ionized hydrogen gas that resides in this area.  As the ionized hydrogen gas and the electrons recombine, there is a beautiful nebula for us to admire.  This nebula is also where many new stars are forming.  Right in between the Flame nebula and the Horsehead nebula and below the star Alnitak is a reflection nebula named NGC 2023.   There is just so much going on this picture.  This area of the sky is ripe with activity on a scale that is hard to comprehend, but beautiful to reflect on.

Here are the acquisition details of the picture.  There is a lot more ionized hydrogen gas in this area that I did not pick up with my camera.  Eventually I will try out some filters that can help show even more of the red color that dominates this area in our sky.


Monday, December 16, 2019

Science for Kids: Population Genetics with PTC paper


I love going out and teaching kids about science.  Since moving from North Carolina to Indiana, I have really missed engaging in STEM outreach at local schools.  However a group of us at work decided we would be on the lookout for these opportunities and get into some schools.  Our company Inari has been supportive of our efforts and so we recently found a local middle school, East Tipp that welcomed us to take over an 8th grade science class for a day.

The group  at work has been amazing as we build out our activities and lessons.  The credit for this science module that delves into population genetics goes to Cole Davis.  He put together a great lesson!

Objective:  

The objective of this lesson is to learn more about about population genetics which is the study of gentic variation in populations.  Some of the concepts to tackle include gene frequency, dominant, recessive, homozygous, heterozygous, etc.  The core exercise involves tasting PTC (phenylthiocarbamide) paper and mapping out the class population genetics based on the whether each student can taste the bitter compound (PTC) or or not taste PTC.

Supplies:  


The strips can be found very cheaply on Amazon: PTC Test strip link


Background:


DNA is how all of our genetic identity is stored and thus determines who are are and what we look like.   This DNA encodes for GENES and our genes are ultimately translated into many different  proteins.   Proteins define all the functions in our bodies or in a living organism. 

This figure shows how DNA is transcribed to RNA and RNA is translated into protein.
https://biologywise.com/protein-synthesis-process


The exercise today looks at one particular protein called a PTC taste receptor that is found in on the tongue.  We have lots of taste receptors that allow us to taste salty, sweet, bitter or sour.  Each different receptor is coded by our DNA.   One of those genes found coded in our DNA is for a PTC taste receptor that allows some of us to taste PTC.  If you can taste it tastes very bitter!  


https://learn.genetics.utah.edu/content/basics/ptc/


For around 75% of the population, PTC tastes very bitter!   For the other 25% of the population they do not taste any bitterness (or anything at all) when trying PTC.  

The PTC taste receptor protein found on our tongues looks like this:


Whether you taste PTC or not is determined by just one gene called TAS2R38.    The genes we get are determined by our parents.  For all genes, we all get one copy of a gene from our mom and one copy of a gene from dad.   Our parents DNA is ultimately what determines the makeup of our DNA and so our parents can give us different versions of the PTC gene depending on what they have.   The gene version that forms a protein that can taste PTC is a DOMINANT gene.    If we have just one gene from our parents that is dominant we can taste PTC.  However over time, the DNA code changed and that change means the DNA translated into a slightly different protein.   This changed version of the gene is RECESSIVE.   The new protein that some people have from a recessive version of the gene is not functional, meaning it does not work and the receptor does not taste the PTC.    However since you get a copy of the gene from mom and a copy from dad, you need to have both recessive copies (non-functional) in order to not taste PTC.

PTC gene:

A = Dominant (just one copy can taste PTC)
a = Recessive (takes two copies to NOT taste PTC)

Individuals have 2 copies of the genes:  One from each parent

AA = "Taster" since both copies are Dominant from each parent = Homozygous Dominant
Aa or aA = "Taster" since one parent still gave a dominant version of the gene - Heterozygous
aa = "Non Taster" since both parents gave a recessive version of the gene = Homozygous Recessive


EXERCISES

Exercise 1:   Taste the PTC paper

With the background out of the way, now the fun can begin.  The students can take the PTC paper and taste it.   At this point you see all kinds faces and get all kinds of reactions!

This just tastes like paper.
YUCK!
I don't taste anything
That was disgusting!
I didn't like that!

As long as you have a decent size population, you will have some tasters and non-tasters.   Statically 1 in every 4 people do NOT taste.  However, smaller populations can have very different frequencies.  Once everyone tastes you can dig into the genetics of the class.

Exercise 2:   Class Frequencies

The first thing to do is get the frequencies of the class population.  How many tasters in the class?  How many non-tasters?  After determining the class size you can determine the percentage of tasters (AA, Aa, or aA) vs the non-tasters (aa).  Did the class follow the average 75% taster / 25% non taster human population?  If not, why would the class frequency look different?

Exercise 3:   Hardy-Weinberg Equation

When we look at the class population data, we now know with certainty that the non-tasters are aa or homozygous recessive.  However everyone that tasted the PTC could either be AA (homozygous dominant) or Aa / aA heterozygous.   There is a mathematical formula that we can use to predict how many people in the class are AA vs heterozygous.  The formula is called the Hardy-Weinberg Equation and as a class we worked through solving it.  Following steps 1-5 below will solve this equation. 


Here is a resource where the equation is shown with a real example:  http://www.germanna.edu/wp-content/uploads/tutoring/handouts/Hardy-Weinberg-Equilibrium.pdf

Exercise 4:   Random Distribution vs Hardy-Weinberg Equation 

We just predicted the percentage of AA, heterozyous and aa frequencies in our class using the Hardy-Weinberg equation.   Now we tried to simulate natural variation in the population by rolling a dice so that each Taster could assign themselves as AA, Aa or aA.  The non tasters are still aa.

Each taster rolls a dice and based on there rolls they are the following.

1 or 2: aA
3 or 4: Aa
5 or 6: AA

Since each student now has a genetic identity for PTC based on the dice roll if they were tasters,  we re-calculated the frequencies and compared it to the Hardy-Weinberg result.  If there were differences we discussed the reason.  The results was usually much closer when we had a really big class.  In the smaller classes the two results were usually a little different. 


Exercise 5:  Bottlenecks

After working through the population genetics we talked some about bottle necking.   This is when a population is reduced to a smaller group or size and the limited diversity in the that population becomes the new norm.


 I work in agriculture and there has been intentional bottlenecking through artificial selection in some crops.   We talked a little through this concept.  This bottlenecking is one of the reason we have been able to increase yields.  


There are also examples where bottlenecking in agriculture has had consequences.  The potato famine is one example we talked through as a class.  The lack of genetic diversity led to a loss of the potato crop which in turn led to starvation and death.

From:  https://www.britannica.com/event/Great-Famine-Irish-history
The Irish relied on one or two types of potatoes, which meant that there wasn't much genetic variety in the plants (diversity is a factor that usually prevents an entire crop from being destroyed). In 1845 a strain of water mold accidentally arrived from North America and thrived in the unusually cool moist weather that year. It continued to destroy potato crops from 1846 to 1849. 

The PTC paper really helps to bring some fun into the concept of genetics.   There are some worksheets that Cole put together that allow the students to work through these exercises.   The worksheets contain even more details and scenarios depending on how deep you would like to go with this science lesson.

Worksheet:
Population Genetics Worksheet using PTC paper


Thanks to some awesome folks at Inari with huge props to Cole, Katie, Grant, Gretchen, Jess.  And thanks to East Tipp Middle School for inviting us!


Monday, November 18, 2019

Reasons to Embrace Vulnerability


I recently took a soft skill training course at work where we talked about a myriad of topics.  There was one group exercise I remember where we tried to define the traits of a great leader.   We each wrote traits on a post it note and then summarized the findings.   Many of the things you would expect showed up such as good communication, honesty, delegation and accountability.   However there was one interesting trait that rose to the top in our group named Vulnerability.

A couple months passed and I joined another class that focused on helping you grow as person.  One of the main themes on how to grow and develop as a person was understanding the importance of vulnerability.

In two separate classes that discussed personal growth, the word vulnerable came up.  What makes vulnerability such a good thing?   I remember my wife and I were on a subway ride in Boston not that long ago.  I was standing in the aisle while my wife sat beside a stranger, struck up a conversation and started telling them all about our life including some of the challenges we were going through as a family.   I felt so uncomfortable that my wife was telling this person all this info about us.  Even though I would never see this person again I did not like the feeling of being vulnerable.  This was personal information!  Looking back I admire the courage that my wife had and there we have it.   Vulnerability takes courage. 

The definition of vulnerability is:

the quality or state of being exposed to the possibility of being attacked or harmed, either physically or emotionally.

When we talk about vulnerability in the context of personal development we are mostly talking about situations that we feel we could be harmed emotionally.  That definition is pretty scary, but when you re-read it a couple of times it says "the possibility of being harmed."   Many times we don't want to be vulnerable just because of the possibility of emotional harm which manifests as shame.   If I go back to the conversation my wife had with a stranger, I really did think about how exposed and open to judgement she was.  Then the unexpected happened.  The stranger starting opening up about a similar experience he had.  I watched a pretty deep and open conversation happen for the 20 minute ride among complete strangers.   One person took the risk to be vulnerable and an amazing conversation ensued.   I reflected how I would not have taken that risk and I would have missed out on someone's else's empathy and insight.

As our learning group talked about vulnerability I gathered a few resources to share.  These videos are not new, in fact they have been around for quite awhile.   However, if you get a chance to dig into the subject of vulnerability it will provide some food for thought.  It has certainly made me think a lot more on where I can be more vulnerable in my life.

Here are a few key takeaways.

1.  Embracing vulnerability creates connection which leads to openness, innovation and trust
2.  We cannot have vulnerability without empathy
3.  Shame is the biggest antagonist of vulnerability

I have watched all these videos a few times and  applying this stuff is not always easy for me.  However I can immediately identify people in my life that have a firm grasp on these principles.   In every case they are people I feel connected with and they are the people that have had the biggest impact on my life.   Look for these people in your life as they will be a blessing to you. 

All about vulnerability by Brene Brown:

 1.  Embracing vulnerability creates connection which leads to openness, innovation and trust


I enjoyed reading this commentary based on the Ted talk:.   Link:   Commentary piece on vulnerability


2.  We cannot have vulnerability without empathy


3.  Shame is the biggest antagonist of of vulnerability


A beautiful quote to sum all this up:

There can be no vulnerability without risk; there can be no community without vulnerability; there can be no peace, and ultimately no life, without community. 
-M. Scott Peck


Tuesday, June 4, 2019

M81 and M82 Astrophotography - First Light with ASI294MC Pro Camera and ASIair wireless controller


Since moving to Indiana I was just waiting to get my scope out and take a few pictures.  My backyard is flat and open here which is a vast improvement to the backyard I had in North Carolina.   However, it has been raining here a lot this spring and so when I finally saw some clear skies the other night I decided to get out under the stars.  The other thing I have learned since moving to Indiana though is that the sun does not set until late!!  It is about 10 pm before I have dark enough skies to start setting up.

I did not have a long session, but the point of my night under the starts was to test some new equipment and software.   If any of you are debating on whtehr to upgrade to any of this equipment, I hope this can answer a few questions you may have.

A new main camera

All of my astrophotography in the past was done with a DSLR.  I started with a D90 and then moved on to a D5300.  Neither camera was modded and yet they both served me well.   I was using Backyard Nikon as the software to take all of pictures with my Nikon cameras.   Then I started reading and researching CMOS cameras and decided to take the plunge.   I moved to a ASI294 MC  Pro camera with cooling which is made by ZWO. 

ZWO website:  https://astronomy-imaging-camera.com/

I finally had a dedicated camera for my Stellarvue 90 refractor.  In addition this camera has a built in cooler which is not present in a DSLR.  The more heat that is present when you take pictures the more noise you get in your pictures. So having cooling can really help decrease the noise you will see in a picture.

Connecting the camera to the scope was a breeze.   Everything just screws together.  Just make sure you have the needed distance to achieve focus.  The ASI294 ships with an extension tube which is all I need to achieve focus.

The ASI294 is the red camera on the very right of the picture:


Focus and Polar Alignment

Polar alignment is always the one step that does not seem to always go well for me.  My go to method was to have my mount facing North, focus my scope and then use the Celestron polar alignment setting in the mounts hand controller.  The mount I am using is the Celestrron AVX.  This worked OK, but then I read about the software Sharpcap.  I am now a big fan of this software for just polar alignment alone although it has many other features like focusing.  The software is free for most uses although their is a small fee for features like polar alignment.

When I was using a DSLR I hooked up the camera to BackYard Nikon to see on my computer screen what the scope was seeing.  Then I could use what I saw to focus the scope and then polar align with the Celestron polar align utility on the mount's hand controller.  Now that I switched to the ASI294 I needed a new software that was compatible with the camera for focusing and polar alignment.  Backyard Nokon only worked with DSLRs and not this new camera.   SharpCap fills in the void left by not having BYN since it recognizes the ASI cameras made by the company ZWO.

Sharpcap:  https://www.sharpcap.co.uk/

So before we polar align we need to be sure the guide camera and the main camera are in focus.   In my setup I am using a second smaller ZWO cameera called the ASI120 mini that is attached to a smaller finder scope.   This samll cope will be my guide scope and camera.   You can just plug the USB cord running from each camera into your computer.   Sharpcap lets you chose the camera you want to see and brings up the image on the screen based on the exposure you chose.  You basically see a live view and are able to use that view to use the focusing knobs to achieve focus on both your guide camera and your main imaging camera. 

Now that both the cameras are in focus, it is time to polar align.   The smaller guide camera called the ASI120 mini is the camera I also used for polar alignment.  Technically you could use either camera to acheive polar alignment.  I just make sure the ASI120 mini is still plugged into my computer and it is the camera that is chosen in Sharpcap.  Once Sharpcap is open and your camera is selected you are able to view what the camera sees and go into the polar align function.   Here the program tells you exactly what to do and I was able to align my scope in about 10 minutes on the very first try with this software.

This is a screenshot taken right from the sharpcap website.  I forgot to take any screenshots when I was going through the procedure.  The basic principle is you are moving your mounts adjustment knobs to follow the yellow arrow and align on Polaris.   As you move the appropriate adjustment knowbs the  arrow gets closer and closer to polar alignment.  Polar alignment is important to make sure you can take long expsoures with start trailing. 


Imaging and Guiding

Normally with a DSLR I would use BackYard Nikon to capture my exposures and PH2 to guide my scope.   Since I switched to the ASI294 I needed to change programs.  I could have continued to use Sharpcap to take my photos, but instead I was testing out some new hardware and software from ZWO.  ZWO is the company who makes the ASI294 and the ASI120.  Since both my guide camera and my main imaging camera are made by ZWO, I wanted to try their  hardward and software to easily control the camera and take images throughout the night.

The ZWO hardware to specifically use with ZWO cameras is called the ASIair.   The beauty of the hardware is thatASIair allows you to take all of your photos wirelessly.   In theory you could sit on your couch in your living room and tell your scope what pictures to take while also viewing the pictures as they load.    It seems a little lazy, but on those really cold winter nights this sounds like a great idea to me!  It also means you do not need to keep you computer hooked up outside all night.

The ASIair is a small little box that is using a Raspberry Pi as the brains.  My guide scope (ASI120 mini) and my imaging scope (ASI294 MC Pro) both connect to the ASIair by USB cables.   This little box is basically plug and play.  One USB cable runs from each camera to the ASIair.   The ASIair does need a power source to run.  The hand controller from my Celestron mount also attaches to the ASIair so that it can wirelessly move your scope to the object you want to capture using the software instead of manually entering in your viewing object in the mount's hand controller.  Even better there is also a guiding option built into the ASIair software.  It looks like a mini version of PHD which would normally be done on a computer that is hooked up to your mount.  The ASIair software is only in app form and can be downloaded either with Android or Apple.   I first loaded it onto my Android phone, but it was a little too much info on a small phone screen for me, so I moved on to an old Apple Ipad mini which was a much better solution in my opinion.

Here is what the ASIair looks like and footprint it takes up.   It comes with some Velcro stickers so you can attach it wherever you want on your mount or scope. 


So how did it all work?  Much better than I thought for my first night with it.   I decided my object to test was M81 and M82.  These are both galaxies that are very close to Polaris in the night sky.   After I had a polar align with Sharpcap I was ready to test the ASIair out.  I did need to hook up a laptop to the guide camera to use Sharpcap to aceive focus and then polar align, but after the polar align I was done with all computers for my imaging session.  The rest was done on the Ipad mini in my house on on the couch (well almost, as I did run into one intial problem of plate solving.)

Using the ASIair program was mostly intuitive.

1  First you connect your Android or Apple device hosting the software to the wifi channel that the ASIair is broadcasting.  I just opened up wifi networks on my Ipad mini and connected to the 5G signal coming from the ASIair

2.  Once connected there are a few setting you need to put in, like your mount name, the ZWO camera you are using and and the focal length of your guide scope and your image scope.  The  Software does support many ZWO cameras and many different mounts.

3.  Next you can tell your scope where to "GOTO".   Supposedly your can go into SkySafari (another planetarium app) and pick any object you want and your mount would go there.  I could not get this function to work as the Skysafari app would not recognize my mount.  This is something I will need to troubleshoot.    However there is a "Choose Object" database located in the ASIair app that had many objects including M81 and M82 (The screenshot below shows the choose object button).  When I first slewed to this object the scope did not go to the right place.  This was the only other big problem I ran into during the session.  I did not do any star calibration since the ASIair has a plate solving feature.  Since I was polar aligned, I clicked on plate solving and the software quickly said "plate solved."  I assumeted this was all I need to do to calibrate the scope and mountt to the night sky (the scope knew where it was looking and going when told to goto an object).  but my first slew to M81 proved this to be untrue.  I tried plate solving a few more times but could not get this function to work.  I had to go back outside and use the mounts hand controller to calibrate on 3 stars.  Once calibrated, I went back the Choose Object in the ASIair and everything worked perfectly.


4.  Once at the proper location to see M81 and M82 I clicked on the "Guide" option to chose a star to lock onto.   I set the exposure of the ASI120 mini (attached to my guide scope) to 3 seconds and 48 gain and hit the "loop" button. 


The stars appeared on the screen and then I just clicked on a star with my finger and hit the "guide button".   The mini PHD graph showed some nice guiding.  My scope was polar aligned, focused, pointed at M81/M82 and guiding and locked on a star.  Now we were ready to actually start imaging.

5.  Now that you are guiding you are ready to tell your main scope to start imaging.  I used a gain of 120 and an exposure of 60 seconds.  I also set the camera temperature to -20 C .  This camera can theoretically go down to -40 but it depends on the outside temperature as to how low it can go.  Also it looks like you do not want this ASI294 camera to work to hard to cool or it actually creates more heat trying to cool to get the temperature down.   I know that does not make too much sense, but there are lots of internet posts on the subject.  Therefore I used -20 C as my target temp on this night.


6.  Next you can just set how many lights, how many darks, etc you want and hit the Go button.  The camera will do what you tell it to do.  I started by telling the camera to take 30 pictures at 60 second exposure and it did just that.   After each exposure the picture is sent to the device for you to view.   The ASIair box has a microSD card where all the images are being stored.

Here was a single 60 second exposure picture of M81 and M82 beaming back to my iPad Mini.


All in all the ASIair worked wonderfully.  I was able to image wirelessly for the most part.  I still needed my laptop for just a bit to polar align and focus and I hit a few snags with the sky alignment where I still needed to manually use the hand controller.  Technically I could have used the ASIair software to focus as well and ZWO have mentioned a polar align feature coming.  Note the ASIair was made for cameras made by ZWO.  So if you have ZWO cameras like the ASI120 mini or the ASI294 I highly recommend the ASIair device.   Seeing how my imaging session was going from afar with a live feed of the incoming pictures was great instead of  sitting outside all night or constantly running outside to check on the computer.

Stacking the Pictures

At the end of the session, I had 70 lights, 20 darks, and 30 flats to stack.  I stacked in Deep Sky Stacker (DSS) and also tried stacking in a new software called Astro Pixel Processor (APP).  Both are free and fairly straightforward although both have many little setting that you can play with to optimize the final stack.   Ultimately I feel like I had a little better stacking experience with APP even though this was the first time I have ever used it. 

APP:  https://www.astropixelprocessor.com/

If you try out APP, you will see the steps 0-6 on the opening screen.  Just follow each step chronologically.  If using a one shot color camera like the ASI294 then in step 0 (RAW/FITS) be sure to check "force Bayer CFA" and chose the Bayer pattern.  The ASI294 Bayer pattern is RGGB.
.


Processing the Stack

Now that we have stacked our lights, flats, and darks  into one file we can process that image.  This is where we need to remove background noise like light pollution, etc.     I used a software called Startools.   I actually struggled a little with trying to get the color processed correctly for the final image.   I want to give the StarTools creator Ivo Jager I huge shout out for helping me get the most out of this data.

 I shared the raw data and final stacked image before porocessing and this is the workflow that Ivo shared to get a nice result.  I was able to replicate the workflow and get a similar final image.

If you would like to play with some raw data for both stacking and processing here is the link:

Stacks and individual frames hosted on Google drive

If you want to try out startools here is one workflow that you can start with (Thanks Ivo for your help sharing this!!)

Super simple workflow below;

--- AutoDev
To see what we got, we can see noise, green/yellow bias, gradients, oversampling, stacking artifacts.
--- Crop
Removal of stacking artifacts.
Parameter [X1] set to [61 pixels]
Parameter [Y1] set to [38 pixels]
Parameter [X2] set to [4094 pixels (-50)]
Parameter [Y2] set to [2788 pixels (-34)]
Image size is 4033 x 2750
--- Bin
Parameter [Scale] set to [(scale/noise reduction 50.00%)/(400.00%)/(+2.00 bits)]
Image size is 2016 x 1375
--- Wipe
Vignetting preset.
Parameter [Temporary AutoDev] set to [Yes]
Parameter [Dark Anomaly Filter] set to [8 pixels]
Parameter [Drop Off Point] set to [0 %]
Parameter [Corner Aggressiveness] set to [100 %]
Parameter [Aggressiveness] set to [93 %]
--- Auto Develop
Final stretch.
Parameter [Ignore Fine Detail <] set to [2.0 pixels]
Parameter [RoI X1] set to [1126 pixels]
Parameter [RoI Y1] set to [686 pixels]
Parameter [RoI X2] set to [1389 pixels (-627)]
Parameter [RoI Y2] set to [819 pixels (-556)]
--- Deconvolution
Worth a try.
(automatically generated mask)
Parameter [Radius] set to [1.3 pixels]
--- Color
Spiral galaxies like M81 tend to show a yellow core (less star formation) and a bluer outer rim (more star formation)
Something about the stars is off, as they showing fringing (it looks like DSS had trouble aligning them correctly?)
Parameter [Dark Saturation] set to [2.70]
Parameter [Blue Bias Reduce] set to [1.00]
Parameter [Green Bias Reduce] set to [1.72]
Parameter [Red Bias Reduce] set to [1.76]
--- Wavelet De-Noise
Switching Tracking off
Parameter [Scale 5] set to [50 %]
Parameter [Grain Size] set to [23.3 pixels]
Parameter [Smoothness] set to [85 %]

Final Image

When I tried to replicate a similar workflow this is the final image that finally comes at the end of the entire process:


Hello there M81 and M82! 

Here is just a little more info on each galaxy from Wikipedia.


M81 and M82 taught me a lot.   I really like the ZWO products, both the new ASI294 camera that has replaced my DSLR and ASIair wirelesss controller.  I have only had one quick session with both of these pieces of hardware and I hit a few challenges.   I need to play around to get things a little more streamlined, but I still managed to set up and get enough data for an image.  Taking flats with the ASI294 is definitely something I think I need to optimize.   Also I could not get SkySafari linked with the ASIair to use the Skysafari app for GOTO.  The plate solving feature in the ASIair app also did not do anything for me.  I still had to manually calibrate my scope with a few stars so the mount knew the layout of the sky. 

I also really like APP and suggest you give it try for a stacking option.  When it comes to polar alignment, I wish I had found Sharpcap a long time ago. 

Clear Skies!