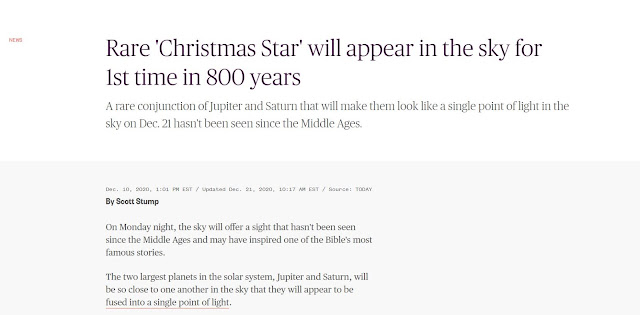
It seems that the great Saturn and Jupiter conjunction of 2020 even made mainstream media as a nice distraction from an otherwise dreary 2020.
There is a lot of info below, but the cliff note picture that I was able to get is here:
 |
| Jupiter and Saturn - Dec 20, 2020 - Celestron Edge 8 HD with Barlow and ASI294 |
Essentially Jupiter and Saturn formed a line through space with Earth so that both planets appeared to be right beside each other in the night sky. They were at their closest point next to each other on the night of Dec. 21, 2020. They had not been with this degree of proximity in over 400 years and over 800 years since humans were able to view them this close. That is because in the past when they would have been this close, the sun blocked the view.
 |
| https://www.today.com/news/christmas-star-will-show-jupiter-saturn-s-closest-alignment-800-t203057 |
Due to the rarity of the event I certainly wanted to get a picture. This conjunction will happen again in 2080 so my kids may see it again, but for me I think this was my only shot. Unfortunately on the actual night where the two planets were the closest, Indiana clouds covered our sky. However I was able get the scopes out a couple other nights and still see the planets coming together. Even then the conditions were not the best, but the clouds gave me a couple breaks to see this amazing celestial event.
I love events like this because it gets other amateur star gazers interested in the hobby. I remember starting out in the hobby of astrophotography and was so lost in what I needed to see something cool in space. I still have so much to learn, but I hope that by sharing my experiences I can give some info to help any newcomers to the hobby whether just for visual observation or taking photos. So during this event I took pictures with two different scopes and two different cameras just to give a flavor of how different scopes and cameras see the beauty of space.
If you want to just look at things visually you really just need a telescope, a mount and some eyepieces to get started. If you want to take photos then you need a few more things and below is a very simple primer.
Requirement 1 for Photographing Planets: Camera with video capability
Photographing planets is a bit different that photographing deep sky objects like nebula or galaxies. For a deep sky object you take a many long exposure pictures an object and then stack all the pictures. Planets though are difficult little buggers because the atmospheric turbulence make getting a good picture extra tough. But because they are so bright and you don't need long exposures to see planets, the solution is to actually take a video of the planet. Once you have a 20-30 second video at 15-30 frames per second then you actually have hundreds of pictures. Each frame of the video becomes a picture. Then you can run the video through a processing software like Autostakkert which splits the frames into pictures and stacks the best pictures together. So if you want to take pictures of planets you need to have a camera that can take video.
Here is an example of when I took a video of Saturn. You can see how sometimes the planet gets fuzzy and other times it gets a bit clearer. Getting perfect atmospheric conditions to get a clear photo is tough, but taking a video can help get lots of pictures so you can stack the best ones and discard the bad ones.
Optional requirement: Barlow lens
In general, getting more magnification can help get a better view of a planet. One trick to help increase your magnification is to use a barlow lens. These are small lens that can be added to your imaging train and can help double or more your magnification.
Here is the Televue 2.5X Barlow lens I use. One one side is the T-ring that can go right on a camera and the other is the adapter that screws right on the Celestron Edge 8 HD SCT scope. It also can screw right into the ASI294 camera making it easy to add to the imaging train.
Example 1: 90 mm Refractor (SV90T) with ASI294 Camera
On the night of Dec 9, 2020 Jupiter and Saturn were still a bit of distance way but they were getting closer. This is where a small refractor scope can get a nice wide field of the sky and fit both planets. As you get higher magnification you see a smaller piece of the sky and my larger scope would not be able to see both at the same time. Even besides planets there are many deep sky objects that take up big parts of the sky and these small grab and go refractors are the go to imaging scope. If you are thinking about getting in stargazing and astrophotography I would always say a good 80 mm refractor is the perfect scope to get and there are many choices on the market.
I just used the ASI294 camera in this example directly hooked up to the SV90T (90 mm refractor scope).
In this case I just took one frame of the video to get a picture.
The refractor definitely does not get crazy detail, but the wide field of view in nice as you can see both planets even when they were still a bit far away. While the planets are small, the refractor can still see the rings of Saturn. If you were using this scope for visual observation, a good eyepiece could get an better magnification of Saturn. This is the scope I used to visually to see the rings of Saturn for the first time in my life many years ago and it hooked me!! Even with the wide field picture if you zoon in you can see what you would see with the scope if looking at Saturn.
Example 2: Edge 8 HD (SCT) with ASI 294 Camera
On Dec 20, 2020, the planets were pretty close and I was able to fit both of them in the field of view with my bigger scope.
In this example I used the ASI294 camera and no barlow lens with the Celestron Edge 8.
The planets look a little bit bigger than with the 90 mm refractor. However they are still pretty small.
Example 3: Edge 8 HD with Barlow and ASI 294 Camera
Right after taking the video with no Barlow, I added the Barlow lens to the imaging train and took a new video. That Barlow is a nice way to get some added magnification. You can see the planets show a little bigger.
I took that same video and processed it through Autostakert and Registax to get the following picture which probably ended up being my favorite.
Example 4: Edge 8 with Barlow and Nikon D5300 camera
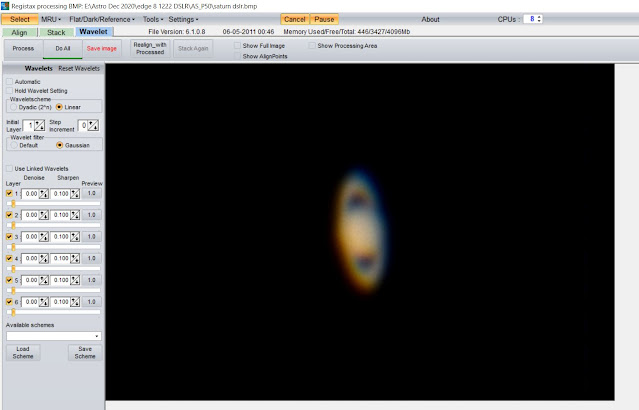
One nice thing about the DSLR is there is usually a "5X" zoom feature that can use the camera to get even more magnification. The more you magnify the more the atmospheric conditions need to be perfect to get a good picture. I did not have great atmospheric conditions, but was still able to get a video of the planets in a much more zoomed state using the added camera magnification feature. I took the resulting video where I zoomed into each plant individually and processed the video in Autostakkert and Registax.
 |
| Jupiter - Nikon D5300 - Dec 22 |


No comments:
Post a Comment